Octoprint Raspberry Pi 4 3.5 touchscreen configuration Raspbian Buster goodtft waveshare XPT2046
I picked up this cheap screen on Ebay with case and heatsink for $20. I spent hours trying to get this to work. I probably failed at least 30 times before I got this to go. I put this document together to help other people out and help me remember in case I have to go back and reinstall Octoprint. I picked up bits from the internet until I got something to work. The drivers from goodtft and waveshare will crash raspbian buster. The drivers are built in and you don’t to install the manufacturer drivers.
Step 1.
First of all enable SPI by using the terminal command:
raspi-config
Navigate to ‘Advanced options’ and then enable SPI
Reboot if needed through the command in the terminal:
sudo reboot
The touch screen should turn on and be white colored.
Step 2.
If your still running the Buster beta upgrade to the latest stable kernel
apt-get update –allow-releaseinfo-change
Give the following command to update and upgrade Raspian:
sudo apt-get update
sudo apt-get upgrade
sudo reboot
Step 3.
Now to modify the configuration file to configure the display
sudo nano /boot/config.txt
then add this line to the bottom
dtoverlay=piscreen,speed=16000000,rotate=90
give Ctrl+X, Y, and Enter. (This saves the file)
Give the command:
sudo reboot
Unplug your HDMI cable if you have it plugged in
You now see Linux booting up on the 3.5 inch touch screen.
Step 4.
Log into you Octoprint and install the touch UI plugin. Run the following command to install X and touch screen auto login/boot into touch mode
git clone https://github.com/BillyBlaze/OctoPrint-TouchUI-autostart.git 98 ~/TouchUI-autostart/
sudo ~/TouchUI-autostart/helpers/install
When done
sudo reboot
You should now see Octoprint fire up and go into touch screen mode
Step 5.
At this point your Octoprint should be loaded but your mouse and touch screen will probably be moving backwards. In the newer (Jessi, Buster) versions of Raspbian they changed input control from
evdev to libinput. You need to install evdev or it will ignore your
99-calibration.conf configurations.
sudo apt-get install xserver-xorg-input-evdev
sudo reboot
You can now modify your 99-calibration.conf file
sudo nano /usr/share/X11/xorg.conf.d/99-calibration.conf
Copy and past below
Section “InputClass”
Identifier “calibration”
MatchProduct “ADS7846 Touchscreen”
Driver “evdev”
Option “Calibration” “3936 227 268 3880”
Option “InvertY” “true”
Option “InvertX” “false”
EndSection
Save and reboot
sudo reboot
Your Raspberry Pi 4 should come up now. Touchscreen should be working in the right direction.
http://www.lcdwiki.com/3.5inch_RPi_Display#Step_1.EF.BC.9ADownload_the_Raspbian_IMG
3.5inch RPi Display - LCD wiki
Product Video Product Pictures Features 320×480 resolution Resistive touch control Supports any revision of Raspberry Pi (directly-pluggable) Compatible with Raspberry Pi A, B, A+, B+, 2B, 3B, 3B+,4B versions Drivers provided (works with your own Raspbian
www.lcdwiki.com
위 사이트는 Maker 제공 설치 방법이다
이 방법으로 하니 작동이 되었다.
DS5QDR 73!
'DV Lab & Test' 카테고리의 다른 글
| 2020-07-16 휴대폰용 이어폰 핀 배열도 (0) | 2020.07.16 |
|---|---|
| 2020-07-14 차량에서 네비와 DVSwitch Mobile 동시 사용 (0) | 2020.07.15 |
| 2020-06-23 Kyocera KC-100S 무전기폰 PTT 활성화 (0) | 2020.06.23 |
| 2020-06-19 라즈베리파이에 전원 ON/OFF S/W 달기 (0) | 2020.06.19 |
| 2020-06-10 RS232C 9핀 단자 기능표 (0) | 2020.06.10 |
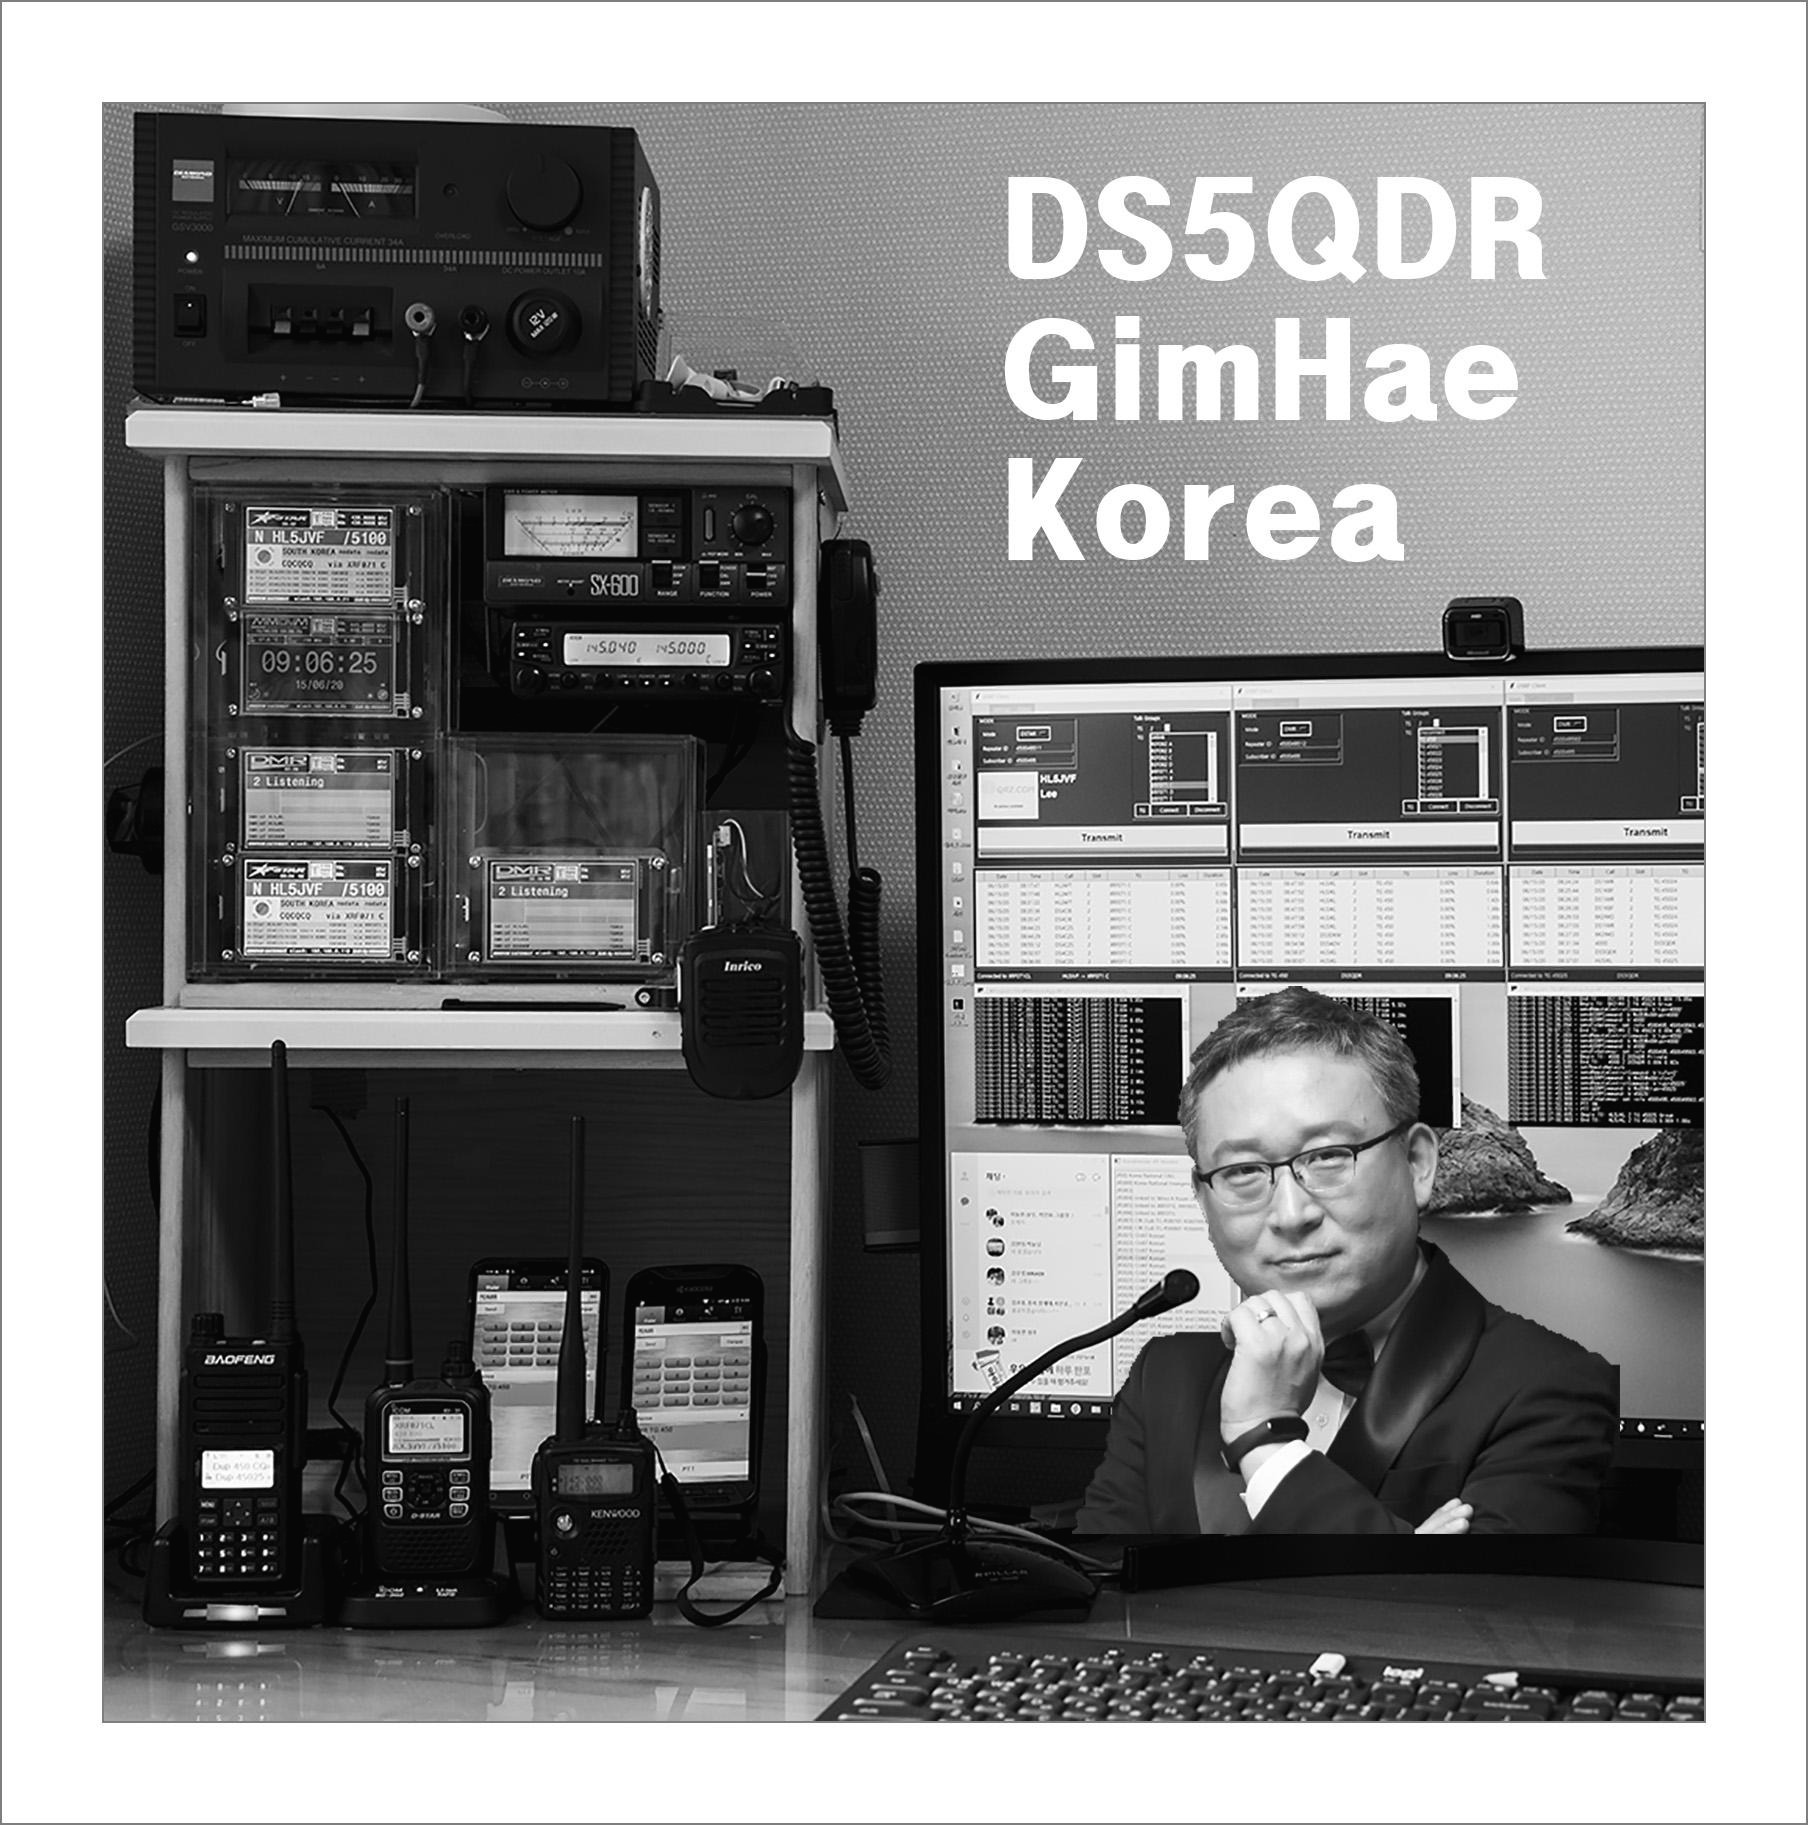
DS5QDR Heonmin Lee in Korea
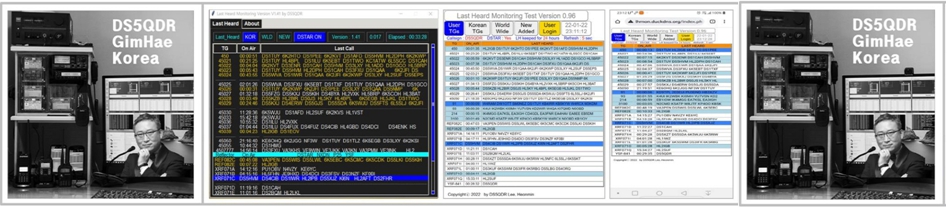
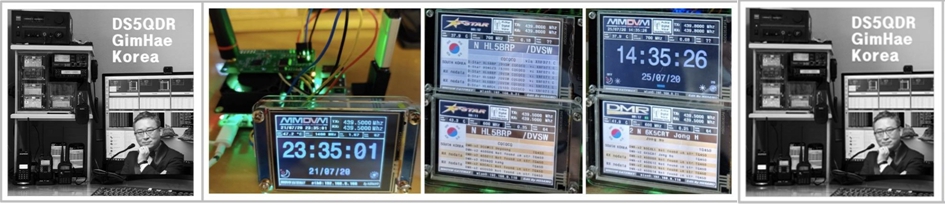
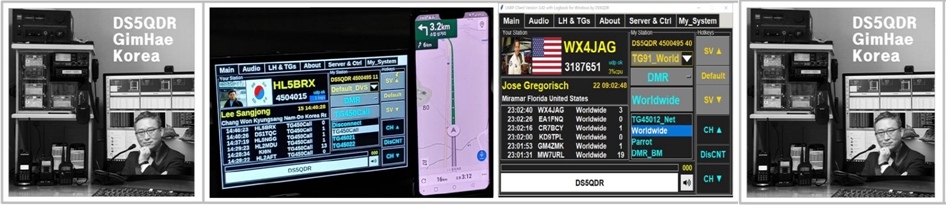
DV 통신 경험 공유 Mode : DMR, DSTAR, YSF, XLX, YSF, M17, AllStarLink, EchoLink Software : DVSwich, USRP Client, Last Heard, MiniPi, MiniMT, VuMeter, DVPi, Pi-Star