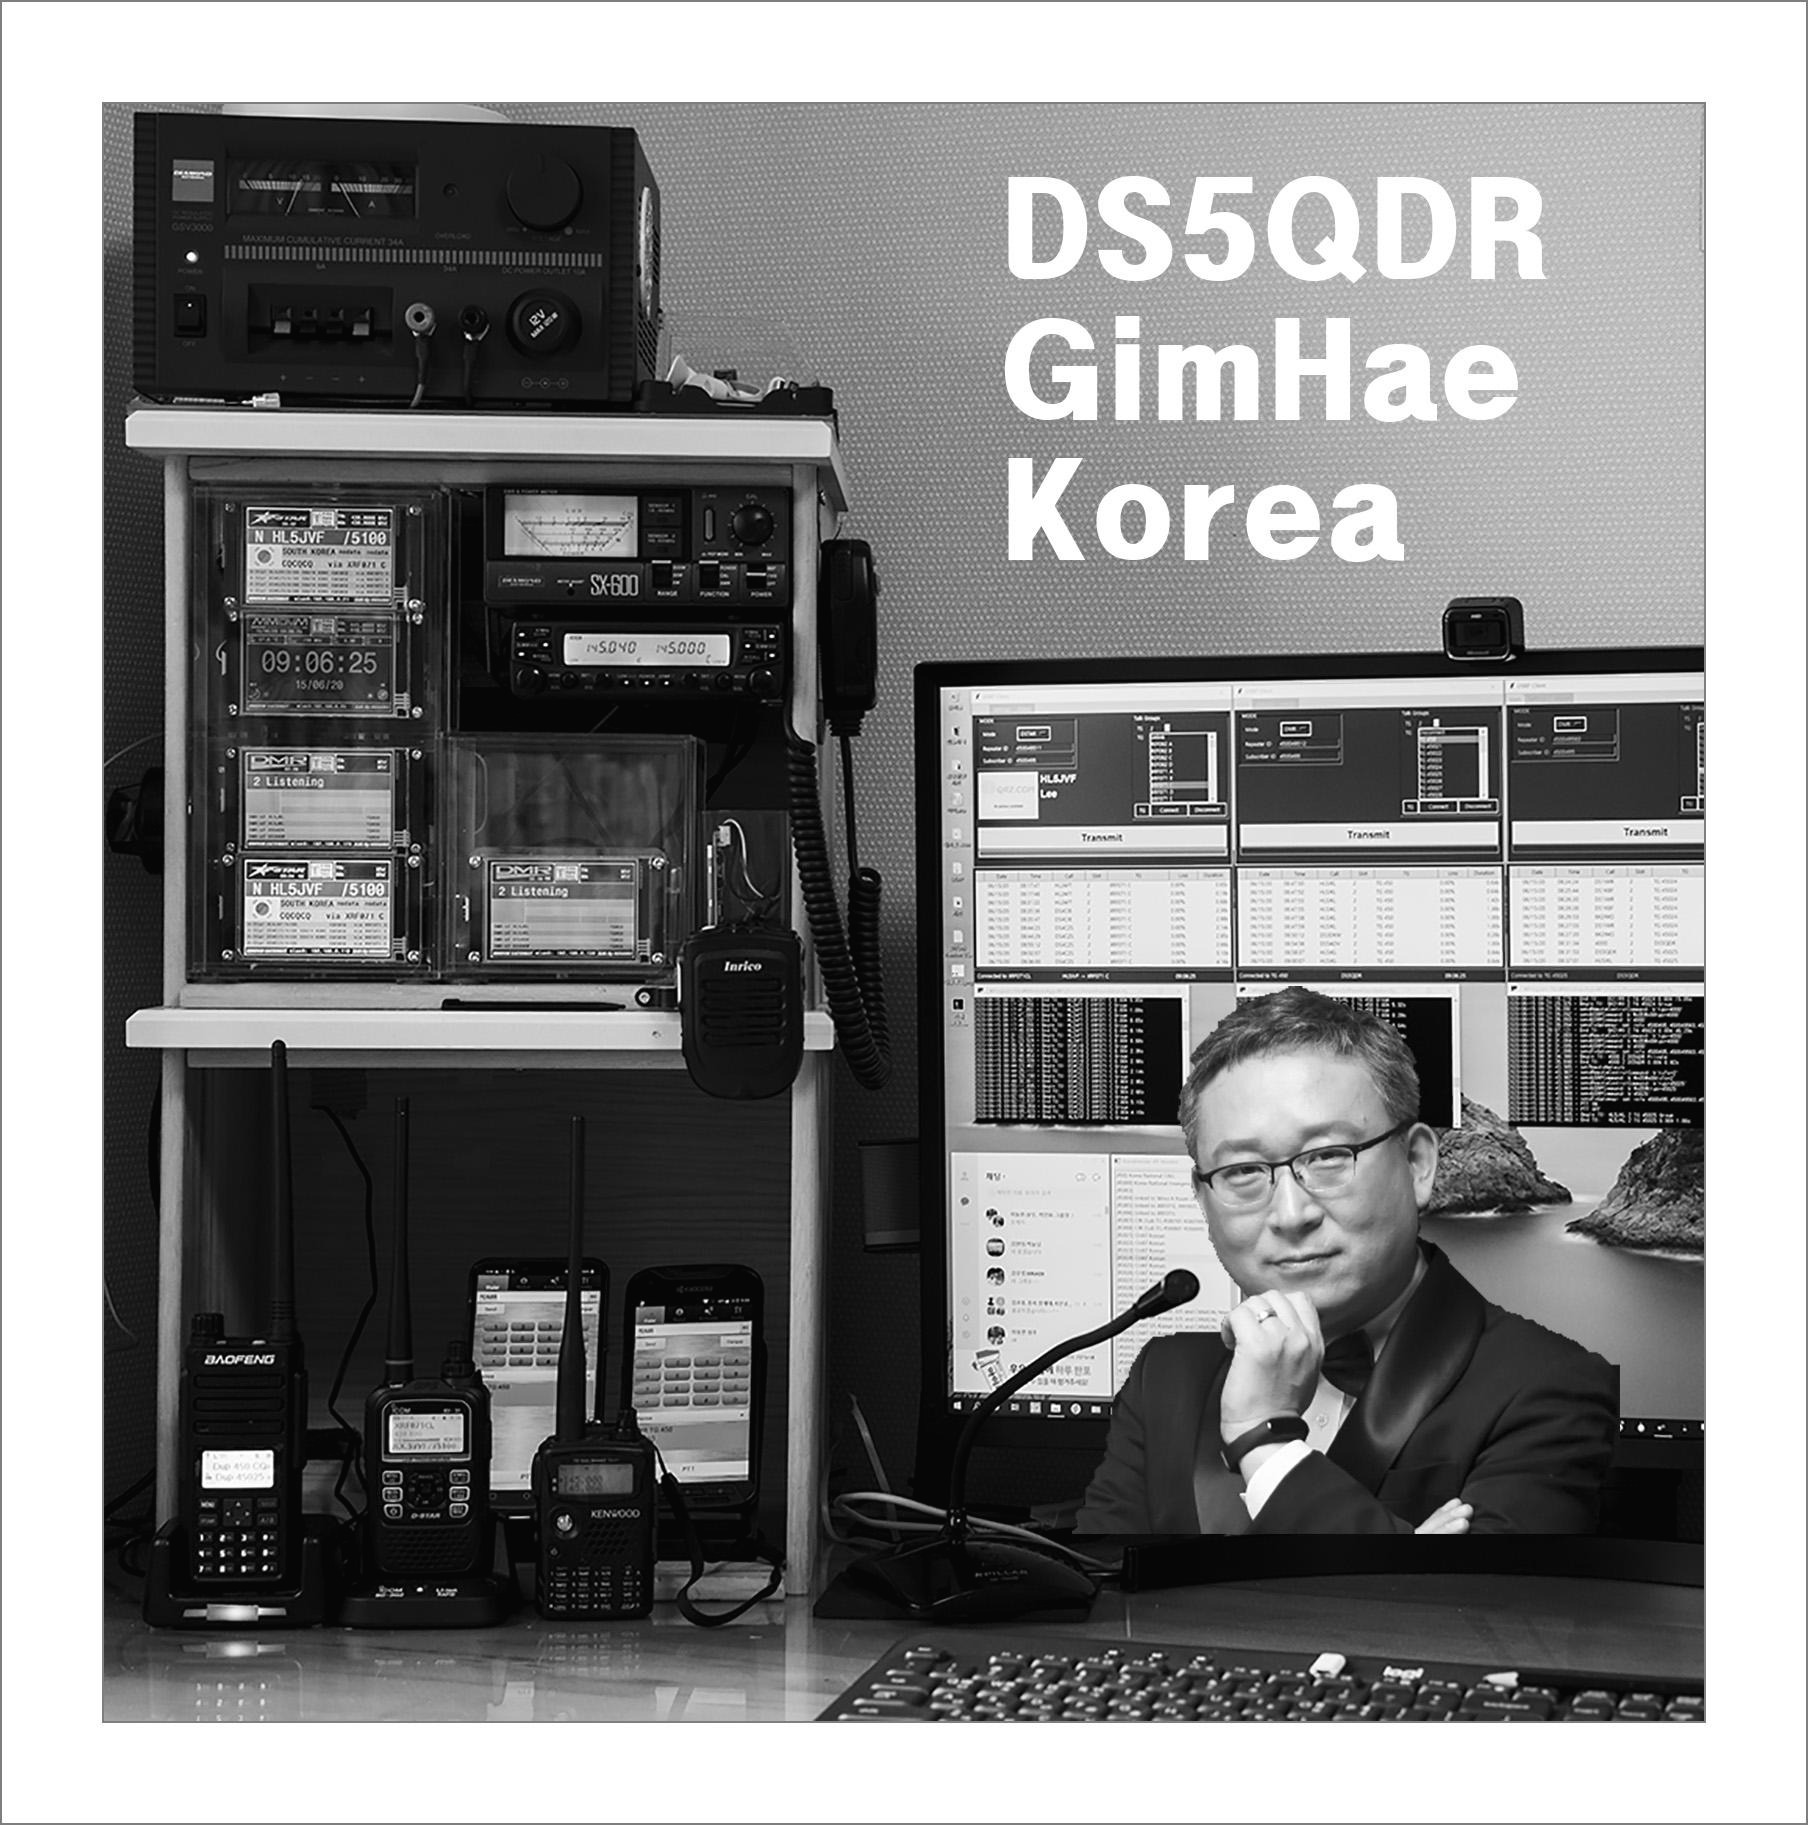
어제 DVSwitch + USRP Client Stand Alone + 7 inch LCD 에 관한 글을 올렸었다
https://ds5qdr-dv.tistory.com/91
2020-08-31 DVSwitch + USRP Client Stand Alone + 7 inch LCD
몇일전인 8/25일 DVPi Stand Alone 에 7 inch Touch Screen을 붙여 공개하였습니다 https://ds5qdr-dv.tistory.com/86 2020-08-25 DVPi Stand Alone + 7 inch Touch LCD DVPi 0.7 버젼 나오면서 더욱 안정적으로..
ds5qdr-dv.tistory.com
지난번에 만들었지만 오늘 다시 만든 김에 정리하여 올립니다
실제구성하면
- Raspberry Pi 3B plus
- 7 inch Touch Screen
- DVSwitch Server Full Version (DMR + D-Star)
- USRP Client
- ThumbDV (DMR만 하면 불필요)
- USB 사운드카드 + 소형 마이크
- 소형 Amp + 소형 스피커
이 필요합니다
가상화 하면
- Oracle VM VirtualBox
- DVSwitch Server Full Version (DMR + D-Star)
- USRP Client
- ThumbDV (DMR만 하면 불필요)
- USB 사운드카드 + 소형 마이크
- PC 스피커
이 필요합니다
먼저 H/W 설정입니다
1. USB 사운드 카드를 PC USB에 연결하고 제어판 -> 장치관리자 에서 제대로 인식되는지 확인

위에서 인식이 안되면 아래 진행 의미 없습니다
2. Olacle VM VirtualBox에서 Virtual Rasbian -> 설정 -> USB -> USB Sound card 연결해줌
D-Star 사용하면 ThumbDV를 USB에 끼우고 역시 연결하면 됩니다

Virtual MC에 제대로 설정이 되었으면
다시 제어판 -> 장치관리자 -> 범용 직렬 버스 컨트롤러 확인해보면
VirtualBox USB 라고 뜹니다
저는 총 3개가 연결되어 있습니다
- 1개 : MMDVM Simplex HotSpot
- 1개 : MMDVM Duplex HotSpot
- 1개 : USB 사운드 카드

3. Virtual MC에서 DVSwitch 설치
DVSwitch Full Version 설치 시 아래 참조
https://ds5qdr-dv.tistory.com/65?category=908580
2020-08-08 Oracle VirtualBox에 DVSwitch Server 설치
금일 8/8일 Oracle VirtualBox에 Linux Debian V10.5.0 을 아래와 같이 설치하였습니다 https://ds5qdr-dv.tistory.com/64 2020-08-08 VirtualBox에 Debian V10.5.0 설치하기 ds5qdr-dv.tistory.com 위 시스템에..
ds5qdr-dv.tistory.com
DVSwitch DMR 전용 Slim 설치 시 아래 참조
https://ds5qdr-dv.tistory.com/69
2020-08-14 간단하게 DVSwitch DMR 전용 Server 만드는 법
최근 KD8CEC OM님이 만드신 DVPI 가 공개된 이후 DMR만 운영되는 가벼운 DMR DVSwitch Server를 만들수 없을까 생각이 들어 찾아보니 DVSwitch 개발자가 Talk Group에 올려 놓았다 https://dvswitch.groups.io/g/m..
ds5qdr-dv.tistory.com
4. USRP Client 설치
아래 링크 참조
https://ds5qdr-dv.tistory.com/3
2020-05-25 DVSwitch USRP Client 윈도우에 설치
인터넷으로 DVSwitch Client 윈도우버젼을 찾다가 DVSwitch/USRP_Client GitHub에 그 방법이 나와 있기에 관련 프로그램을 설치하니 아래와 같이 잘 작동을 합니다 DMR과 D-Star 모두 작동하고 (다른 모듈은 테�
ds5qdr-dv.tistory.com
pyUC.ini Port 설정 참조
[DEFAULTS]
myCall = DS5QDR ; You callsign
subscriberID = 4500xxx ; Your DMR/CCS7 ID
repeaterID = 4500xxxyy ; Your repeater ID (DMRID + 숫자 두자리)
ipAddress = 192.168.0.xx ; IP address or hostname of DVSwitch Server (AB)
usrpTxPort = 34001 ; Port on which AB is listening
usrpRxPort = 32001 ; Local port to listen for packets from AB
defaultServer = DMR
Analog_Bridge.ini Port 설정 참조
gatewayDmrId = 4500xxx ; ID to use when transmitting from Analog_Bridge
repeaterID = 4500xxxyy ; ID of source repeater (DMRID + 숫자 두자리)
txTg = 9 ; TG to use for all frames sent from Analog_Bridge -> xx_Bridge
txTs = 2 ; Slot to use for frames sent from Analog_Bridge -> xx_Bridge
colorCode = 1 ; Color Code to assign DMR frames
[USRP]
address = 127.0.0.1 ; IP address of USRP partner (Allstar/Asterisk or another Analog_Bridge)
txPort = 32001 ; Transmit USRP frames on this port
rxPort = 34001 ; Listen for USRP frames on this port
usrpAudio = AUDIO_UNITY ; Audio to ASL (AUDIO_UNITY, AUDIO_USE_AGC, AUDIO_USE_GAIN)
usrpGain = 1.10 ; Gain (in db) of the AGC filter
tlvAudio = AUDIO_UNITY ; Audio from ASL (AUDIO_UNITY, AUDIO_USE_GAIN, AUDIO_BPF)
tlvGain = 0.5 ; Gain factor of audio from ASL (0.0-1.0)
5. 즐거운 교신 바랍니다

DS5QDR 73!
'USRP Client' 카테고리의 다른 글
| 2020-10-15 DVSwitch USRP Client로 Multi VFO / User 만들기 (0) | 2020.10.15 |
|---|---|
| 2020-09-18 실험 : USRP Client H/W PTT 기능 넣기 (2) | 2020.09.18 |
| 2020-09-08 Oracle VirtualBox에 Multi USRP Client 실행 (0) | 2020.09.08 |
| 2020-06-18 라즈비안에 DVSwitch USRP Client 설치 (0) | 2020.06.18 |
| 2020-05-25 DVSwitch USRP Client 윈도우에 설치 (0) | 2020.05.31 |


