DVSwitch Server를 설치하고 DVSwitch Server IP 주소를 웹브라우즈 IP 주소에 입력하면
아래와 같은 DVSwitch Dashboard 가 나옵니다.
DVSwitch Server의 상태와 송수신 내용 및 Server System 정보도 함께 볼 수 있습니다
When you install the DVSwitch Server
and enter the DVSwitch Server IP address in the web browser,
you can see DVSwitch Dashboard as below.
You can see DVSwitch Server status, transmissions, and Server System information.

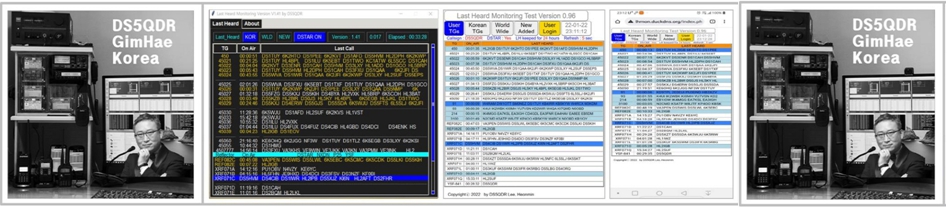
몇일 조금 시간 내어 Dashboard를 수정해보았습니다.
사람에 따라 호불호가 다를 수 있으니 원하시는 분은 설치해보시는 것도 좋을 것 같습니다
I modified DVSwitch Dashboard as below.
간단히 추가 기능을 설명하면
- RX Monitor 버튼을 화면 띄울때 바로 활성화 하여 교신 내용을 들을 수 있습니다 (한번 더 클릭 하면 소리 안들림)
- Menu 버튼을 추가하여 Mode 선택과 TG 선택을 바로 할 수 있습니다
- Menu 버튼 중 ASL과 Allmon2 두개 버튼은 AllStarLink 및 Allmon2 설치하신 분만 보입니다.
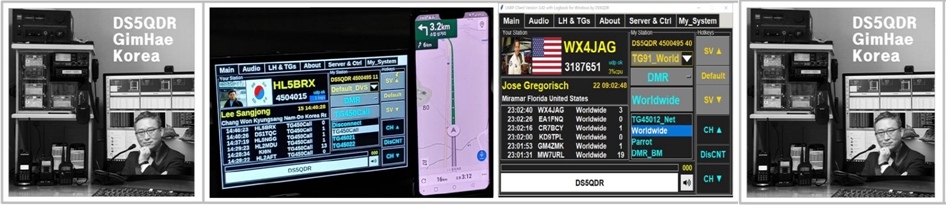
- Last Heard 의 마지막 Callsign에 대해 qrz.com 등록 사진, 국기, DMRID, LocalTime 및 이름, 주소 정보가 뜹니다
(현재 Mode 상관 없이 MMDVM_Bridge 마지막 Log Callsign 정보를 보여 줌)
- dvsMU Multi User 지원합니다 (user 선택하면 해당 user Dashboard 보여줍니다)
Simply explain the add-ons
- Activate the RX Monitor button when browser opens. (one more click, no sound)
- Select Mode and TG (TG list display besed on folder '/var/lib/dvswitch/dvs/tgdb/{Mode}_fvrt_list.txt'.
- Among the Menu buttons, ASL and Allmon2 buttons are visible only to those who have installed AllStarLink
and Allmon2.
- Last Call's qrz.com Registration Photo, Flag, DMRID, LocalTime and Name, Address Information will appear
in LastHeard area.

다운로드 및 설치는 아래와 같습니다
putty로 DVSwitch Server에 접속한 후 아래 명령어를 입력하면 됩니다
Downloads and installations are as below.
Connect to the DVSwitch Server with putty and enter the command below
1. 웹페이지 sudo 권한 부여 Granting web page sudo permission
sudo nano /etc/sudoers 한 후
제일 아래줄에 다음 라인 추가
www-data ALL=(ALL) NOPASSWD:ALL <--- 추가 Add the next line to the bottom line
Ctrl-X --> Y --> Enter 하고 저장 Save

2. 기존 웹 파일을 백업 Backup existing web files
cd /var/www/html
sudo zip -r DVS_bu.zip ./*
3. 변경된 Dashboard 설치 Installing the modifiled Dashboard
cd /var/www/html
sudo wget -O DVS.zip usrp.duckdns.org/DVS_Dashboard/DVS.zip
sudo unzip -o DVS.zip
4. 웹브라우즈에 DVSwitch Server IP 입력

이제 웹브라우즈에 자신의 DVSwitch Server IP주소를 입력하면
변경된 DVSwitch Dashboard를 볼 수 있을 것입니다
dvsMU 사용자는 처음 실행하면 5~10초 전후 화면 표시 지연이 발생할 수 있습니다
When dvsMU is first run, there is a screen display delay of 5 to 10 seconds.
수정사항 있으시면 댓글 부탁 드립니다
You can now enter your DVSwitch Server IP address in your web browser.
You will be able to see the DVSwitch Dashboard modified.
If you have any changes, please leave a comment.
4. 향후 계획
- AllStarLink와 연계하여
- RaspberryPi에 Radioless USB Sound Card PTT 기능을 추가하여
- 송수신 가능하도록 기능 개선을 추진할 예정입니다 (테스트 완료)
또한 윈도우 웹브라우즈 (크롬)에서 송/수신 할 수 있도록 연구 중에 있습니다
감사합니다 Thanks.
DS5QDR 73!
'DVSwitch' 카테고리의 다른 글
| 2023-09-09 DVSwitch : Mobile 처음 설치 후 사용 방법 설명 (입문자 추천) (0) | 2023.09.09 |
|---|---|
| 2023-09-07 DVSwitch : Mobile 과 USRP Client 송수신 음량 조정 방법 (0) | 2023.09.07 |
| 2023-03-02 DVSwitch : 필요한 Module만 설치 방법 (0) | 2023.03.02 |
| 2023-02-20 DVSwtich : Mobile Version 2.0.2 password (0) | 2023.02.20 |
| 2022-12-27 DVSwitch : Mobile Inrico Bluetooth PTT B01 연결 문제 해결됨 (2) | 2022.12.27 |
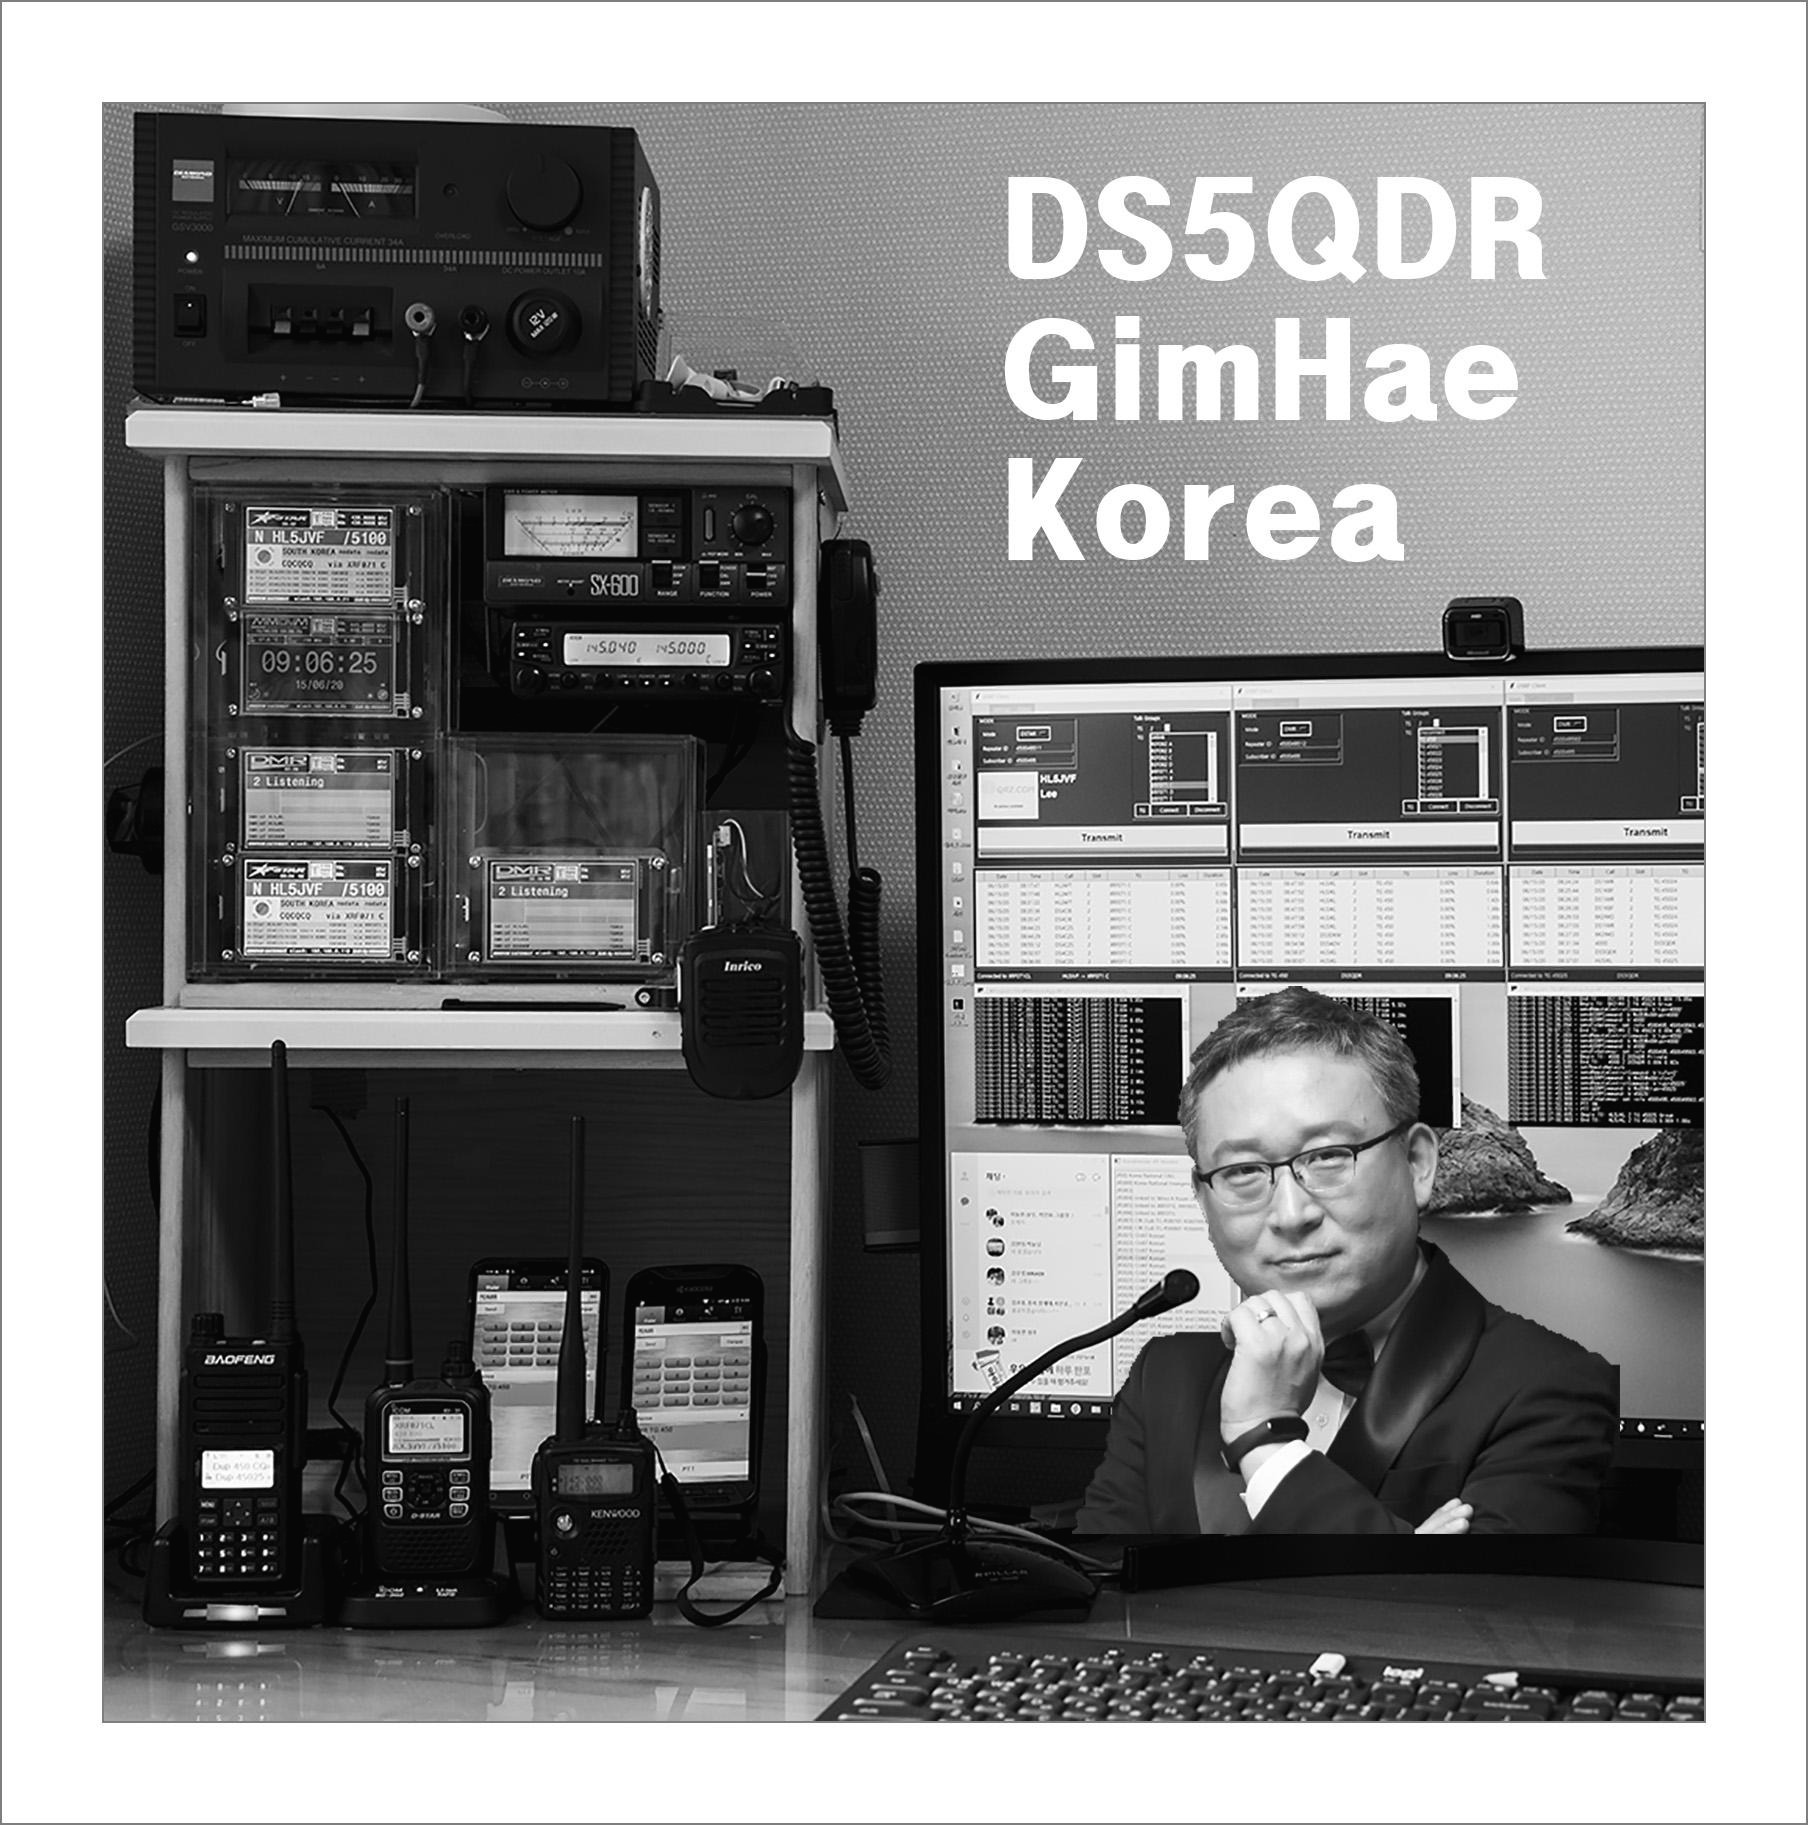
DS5QDR Heonmin Lee in Korea
DV 통신 경험 공유 Mode : DMR, DSTAR, YSF, XLX, YSF, M17, AllStarLink, EchoLink Software : DVSwich, USRP Client, Last Heard, MiniPi, MiniMT, VuMeter, DVPi, Pi-Star