최근 DVPi 및 Virtual MC 설치가 많아 DVSwitch Full Version 설치 내용만 요약 정리하였습니다
아래 명령어를 한줄씩 실행 바랍니다
DVSwitch-System_Builder 설치하기
sudo -s
cd /tmp
wget https://github.com/DVSwitch/DVSwitch-System-Builder/archive/master.zip
cd /srv
unzip /tmp/master.zip
mv DVSwitch-System-Builder-master DVSwitch-System-Builder
cd DVSwitch-System-Builder
./DVSwitch-System-Builder.sh
/usr/local/sbin/update-from-github.sh ; 업데이터 바이너리 파일
DVSwitch 설정 및 실행
1. MMDVM_Bridge.ini 파일 수정
cd /opt/MMDVM_Bridge
nano MMDVM_Bridge.ini
systemctl enable mmdvm_bridge
top of MMDVM_Bridge.ini
[General]
Callsign=DS5QDR
Id=4500xxxyy # 자신의 dmrid + 숫자 두자리, Analog_Bridge.ini와 맞추어야 합니다
Timeout=180
Duplex=0
[Info]
RXFrequency=222340000
TXFrequency=224940000
Power=1
Latitude=35.166 # 경도
Longitude=128.828 # 위도 입력
Height=0
Location=Gimhae, Korea # 주소 입력
Description=MMDVM_Bridge
URL=qrz.com/db/DS5QDR # qrz.com/db/콜싸인 입력
[Log]
# Logging levels, 0=No logging, 1=Debug, 2=Message, 3=Info, 4=Warning, 5=Error, 6=Fatal
DisplayLevel=1
FileLevel=2
FilePath=/var/log/mmdvm
FileRoot=MMDVM_Bridge
[DMR Id Lookup]
File=/var/lib/mmdvm/DMRIds.dat
Time=24
[NXDN Id Lookup]
File=/var/lib/mmdvm/NXDN.csv
Time=24
[Modem]
Port=/dev/null
RSSIMappingFile=RSSI.dat
Trace=0
Debug=0
[D-Star]
Enable=1 # D-Star 사용함
Module=B # Module 선택, ircddbgateway와 맞추어야 합니다
[DMR]
Enable=1 # DMR 사용함
ColorCode=1
EmbeddedLCOnly=1
DumpTAData=0
[System Fusion]
Enable=0
[P25]
Enable=0
NAC=293
[NXDN]
Enable=0
RAN=1
Id=12345
[D-Star Network]
Enable=1 # D-Star 사용함
GatewayAddress=127.0.0.1
GatewayPort=20010
LocalPort=20011
Debug=0
[DMR Network]
Enable=1 # DMR 사용함
Address=211.60.41.188 # BM_South_Korea_4601 IP주소 입력
Port=62031
Jitter=360
Local=62032
Password=passw0rd
# for DMR+ see https://github.com/DVSwitch/MMDVM_Bridge/blob/master/DOC/DMRplus_startup_options.md
# for XLX the syntax is: Options=XLX:4009
# Options=
Slot1=0
Slot2=1
Debug=0
[System Fusion Network]
Enable=0
LocalAddress=0
LocalPort=3200
GatewayAddress=ysfreflector.dvswitch.org
GatewayPort=42166
Debug=0
[P25 Network]
Enable=0
GatewayAddress=127.0.0.1
GatewayPort=42020
LocalPort=32010
Debug=0
[NXDN Network]
Enable=0
#LocalAddress=127.0.0.1
Debug=0
LocalPort=14021
GatewayAddress=127.0.0.1
GatewayPort=14020
bottom of MMDVM_Bridge.ini
2. Analog_Bridge.ini 파일 수정
cd /opt/Analog_Bridge
nano Analog_Bridge.ini
systemctl enable analog_bridge
top of Ananlog_Bridge.ini
; Analog_Bridge configuration file.
; This file should be placed in either /etc or it can be
; supplied as a path on the Analog_Bridge command line.
; The best way to think of this file is that there are two main sections, the USRP (analog audio) and
; AMBE_AUDIO (compressed audio). Analog_Bridge will take everything sent to the USRP port and
; encode it for transmission on the AMBE_AUDIO port. The encoder will use the format defined in ambeMode.
; As you might expect, the reverse direction is defined too.
; Analog_Bridge supports include files. More on this later...
include = dvsm.macro
; include = asl.macro
; General Section describes settings for Analog_Bridge itself.
[GENERAL]
logLevel = 2 ; Show messages and above 0=No logging, 1=Debug, 2=Message, 3=Info, 4=Warning, 5=Error, 6=Fatal
; Metadata management
subscriberFile = /var/lib/dvswitch/subscriber_ids.csv ; DMR ID to callsign lookup data
exportMetadata = true ; Export metadata to USRP partner (transcode setups require this)
transferRootDir = /tmp ; Export database files to USRP partner
; General vocoder setup information
decoderFallBack = true ; Allow software AMBE decoding if a hardware decoder is not found
useEmulator = false ; Use the MD380 AMBE emulator for AMBE72 (DMR/YSFN/NXDN)
emulatorAddress = 127.0.0.1:2470 ; IP address and port of the md380 server
; Information for xx_Bridge (Where xx is MMDVM, Quantar, HB, IPSC)
[AMBE_AUDIO]
address = 127.0.0.1 ; IP address of xx_Bridge
txPort = 31103 ; Transmit TLV frames to partner on this port
rxPort = 31100 ; Listen for TLV frames from partner on this port
ambeMode = DMR ; DMR, DMR_IPSC, DSTAR, NXDN, P25, YSFN, YSFW (encode PCM to this format)
minTxTimeMS = 2500 ; Minimum time in MS for hang delay (0-10000)
; The metadata below is used when ASL is the source since it does not have any concept of digital modes
gatewayDmrId =4500xxx ; ID to use when transmitting from Analog_Bridge
repeaterID =4500xxxyy ; MMDVM_Bridge.ini 파일에서 입력한 dmrid + 숫자2자리 동일하게 입력
txTg = 9 ; TG to use for all frames sent from Analog_Bridge -> xx_Bridge
txTs = 2 ; Slot to use for frames sent from Analog_Bridge -> xx_Bridge
colorCode = 1 ; Color Code to assign DMR frames
; Information for USRP channel driver. This interface uses PCM to transfer audio information
; There are two typical configurations, ASL and Transcode. ASL (AllstarLink) is for analog clients connected
; to a digital network. Transcode is when Analog_Bridge actually points its PCM interfaces back at itself,
; causing a TLV <-- (pcm <--> pcm) --> TLV type of architecture.
; When using ASL, this matches the rpt.conf ASL file with a setting like:
; rxchannel = usrp/127.0.0.1:34001:32001
; When Transcoding, make two ini files and set txPort equal to the other instance rxPort (crossover). Launch
; each instance with its own ini file.
아래 세가지 USRP 중 한가지만 설정
[USRP] ; DVSwitch 용
address = 192.168.0.xxx ; IP address of USRP partner (Allstar/Asterisk or another Analog_Bridge)
txPort = 50000 ; 포트포워드 포트 Transmit USRP frames on this port
rxPort = 50000 ; 포트포워드 포트 Listen for USRP frames on this port
usrpAudio = AUDIO_UNITY ; Audio to ASL (AUDIO_UNITY, AUDIO_USE_AGC, AUDIO_USE_GAIN)
usrpGain = 1.10 ; 수신 음량 Gain (in db) of the AGC filter
tlvAudio = AUDIO_UNITY ; Audio from ASL (AUDIO_UNITY, AUDIO_USE_GAIN, AUDIO_BPF)
tlvGain = 0.35 ; 송신 음량 Gain factor of audio from ASL (0.0-1.0)
[USRP] DVLink 용
address = 192.168.0.xxx ; 서버 IP주소
txPort = 46001 ; 포트포워드 포트 Transmit USRP frames on this port
rxPort = 46001 ; 포트포워드 포트 Listen for USRP frames on this port
usrpAudio = AUDIO_UNITY ; Audio to ASL (AUDIO_UNITY, AUDIO_USE_AGC, AUDIO_USE_GAIN)
usrpGain = 1.10 ; Gain (in db) of the AGC filter
tlvAudio = AUDIO_UNITY ; Audio from ASL (AUDIO_UNITY, AUDIO_USE_GAIN, AUDIO_BPF)
tlvGain = 0.5 ; Gain factor of audio from ASL (0.0-1.0)
[USRP] DVPi / USRP Client Stand Alone용
address = 127.0.0.1 ; IP address of USRP partner (Allstar/Asterisk or another Analog_Bridge)
txPort = 32001 ; Transmit USRP frames on this port
rxPort = 34001 ; Listen for USRP frames on this port
usrpAudio = AUDIO_UNITY ; Audio to ASL (AUDIO_UNITY, AUDIO_USE_AGC, AUDIO_USE_GAIN)
usrpGain = 1.10 ; Gain (in db) of the AGC filter
tlvAudio = AUDIO_UNITY ; Audio from ASL (AUDIO_UNITY, AUDIO_USE_GAIN, AUDIO_BPF)
tlvGain = 0.5 ; Gain factor of audio from ASL (0.0-1.0)
; Stand Alone DVPi / USRP Client 설정시 TX / RX port값은 반대로 설정해야 합니다 TX : 34001, RX : 32001
[MACROS]
; Where the macros are
; xxxx=yyyy
; xxxx is the dial string to match
; yyyy is the command line to execute
; xxxx must be preceded by a *
; xxxx can be any string (alphanumeric)
; yyyy is the command to execute
; yyyy will replace xxxx in the dial string
; arguments follow the macro name with a # delimiter
; For example using macro "5678" above would look like:
; *5678#9876
; Which would invoke:
; echo 9876
; Information for DV3000 hardware decoder
; There are two configuration modes: IP (AMBEServer) and serial (direct connect hardware)
; Use top server and port if using AMBEServer
; Use bottom server/port and serial = true if using the DV3000u (thumbdv)
; Did you run AMBETest4.py before using this?
[DV3000]
; address = 127.0.0.1 ; IP address of AMBEServer
; rxPort = 2460 ; Port of AMBEServer
; address = /dev/ttyUSB0 ; Device of DV3000U on this machine
; baud = 460800 ; Baud rate of the dongle (230400 or 460800)
; serial = true ; Use serial=true for direct connect or serial=false for AMBEServer
bottom of Analog_Bridge.ini
3. ircddbgateway 파일 수정
cd /etc
nano ircddbgateway
systemctl enable ircddbgatewayd.service
top of ircddbgateway
gatewayType=0
gatewayCallsign=DS5QDR
gatewayAddress=0.0.0.0
icomAddress=172.16.0.20
icomPort=20000
hbAddress=127.0.0.1
hbPort=20010
latitude=
longitude=
description1=
description2=
url=
repeaterCall1=DS5QDR
repeaterBand1=B ; MMDVM_Bridge.ini와 맞추어야 합니다
repeaterType1=0
repeaterAddress1=127.0.0.1
repeaterPort1=20011
reflector1=
atStartup1=0
reconnect1=0
frequency1=434.00000
offset1=0.0000
rangeKms1=0.000
latitude1=0.000000
longitude1=0.000000
agl1=0.000
description1_1=
description1_2=
url1=
band1_1=0
band1_2=0
band1_3=0
repeaterCall2=
repeaterBand2=
repeaterType2=0
repeaterAddress2=127.0.0.1
repeaterPort2=20012
reflector2=
atStartup2=0
reconnect2=0
frequency2=0.00000
offset2=0.0000
rangeKms2=0.000
latitude2=0.000000
longitude2=0.000000
agl2=0.000
description2_1=
description2_2=
url2=
band2_1=0
band2_2=0
band2_3=0
repeaterCall3=
repeaterBand3=
repeaterType3=0
repeaterAddress3=127.0.0.1
repeaterPort3=20013
reflector3=
atStartup3=0
reconnect3=0
frequency3=0.00000
offset3=0.0000
rangeKms3=0.000
latitude3=0.000000
longitude3=0.000000
agl3=0.000
description3_1=
description3_2=
url3=
band3_1=0
band3_2=0
band3_3=0
repeaterCall4=
repeaterBand4=
repeaterType4=0
repeaterAddress4=127.0.0.1
repeaterPort4=20014
reflector4=
atStartup4=0
reconnect4=0
frequency4=0.00000
offset4=0.0000
rangeKms4=0.000
latitude4=0.000000
longitude4=0.000000
agl4=0.000
description4_1=
description4_2=
url4=
band4_1=0
band4_2=0
band4_3=0
ircddbEnabled=1
ircddbHostname=rr.openquad.net
ircddbUsername=DS5QDR
ircddbPassword=DS5QDR
ircddbEnabled2=0
ircddbHostname2=rr.openquad.net
ircddbUsername2=
ircddbPassword2=
ircddbEnabled3=0
ircddbHostname3=
ircddbUsername3=
ircddbPassword3=
ircddbEnabled4=0
ircddbHostname4=
ircddbUsername4=
ircddbPassword4=
aprsEnabled=1
aprsHostname=rotate.aprs2.net
aprsPassword=
aprsPort=14580
dextraEnabled=1
dextraMaxDongles=5
dplusEnabled=1 ; REF082 접속 가능
dplusMaxDongles=5
dplusLogin=DS5QDR
dcsEnabled=1
ccsEnabled=1
ccsHost=CCS704
xlxEnabled=1
xlxHostsFileUrl=http://xlxapi.rlx.lu/api.php?do=GetReflectorHostname
starNetBand1=A
starNetCallsign1=
starNetLogoff1=
starNetInfo1=
starNetPermanent1=
starNetUserTimeout1=300
starNetGroupTimeout1=300
starNetCallsignSwitch1=0
starNetTXMsgSwitch1=1
starNetReflector1=
starNetBand2=A
starNetCallsign2=
starNetLogoff2=
starNetInfo2=
starNetPermanent2=
starNetUserTimeout2=300
starNetGroupTimeout2=300
starNetCallsignSwitch2=0
starNetTXMsgSwitch2=1
starNetReflector2=
starNetBand3=A
starNetCallsign3=
starNetLogoff3=
starNetInfo3=
starNetPermanent3=
starNetUserTimeout3=300
starNetGroupTimeout3=300
starNetCallsignSwitch3=0
starNetTXMsgSwitch3=1
starNetReflector3=
starNetBand4=A
starNetCallsign4=
starNetLogoff4=
starNetInfo4=
starNetPermanent4=
starNetUserTimeout4=300
starNetGroupTimeout4=300
starNetCallsignSwitch4=0
starNetTXMsgSwitch4=1
starNetReflector4=
starNetBand5=A
starNetCallsign5=
starNetLogoff5=
starNetInfo5=
starNetPermanent5=
starNetUserTimeout5=300
starNetGroupTimeout5=300
starNetCallsignSwitch5=0
starNetTXMsgSwitch5=1
starNetReflector5=
remoteEnabled=1
remotePassword=
remotePort=54321
language=0 ; 0 = 영어 음성
infoEnabled=1
echoEnabled=1
logEnabled=1
dratsEnabled=0
dtmfEnabled=1
windowX=-1
windowY=-1
bottom of ircddbgateway
4. 기타 설치
multitail 설치
sudo apt-get install multitail
USRP Clinet 실행할 경우
sudo apt-get install python3-pyaudio
sudo apt-get install portaudio19-dev
sudo apt-get install python3-pil.imagetk
내부 음량 조절 시
alsamixer
sudo alsactl store
5. 재부팅
sudo reboot
DS5QDR 73!
'오래된 자료들 모음' 카테고리의 다른 글
| 2020-10-04 DVSwitch : Virtual Box에서 DVSwitch Dual VFO A / B 구현 (2) | 2020.10.04 |
|---|---|
| 2020-09-02 DVSwitch Full Version + DVPi + USRP Client 전환 운영 (2) | 2020.09.02 |
| 2020-08-14 DVswitch : 간단하게 DVSwitch DMR 전용 Server 만드는 법 (2) | 2020.08.14 |
| 2020-06-17 DVSwitch 처음 설치하시는 분 (0) | 2020.06.17 |
| 2020-06-17 Portable AMBE Server (0) | 2020.06.17 |
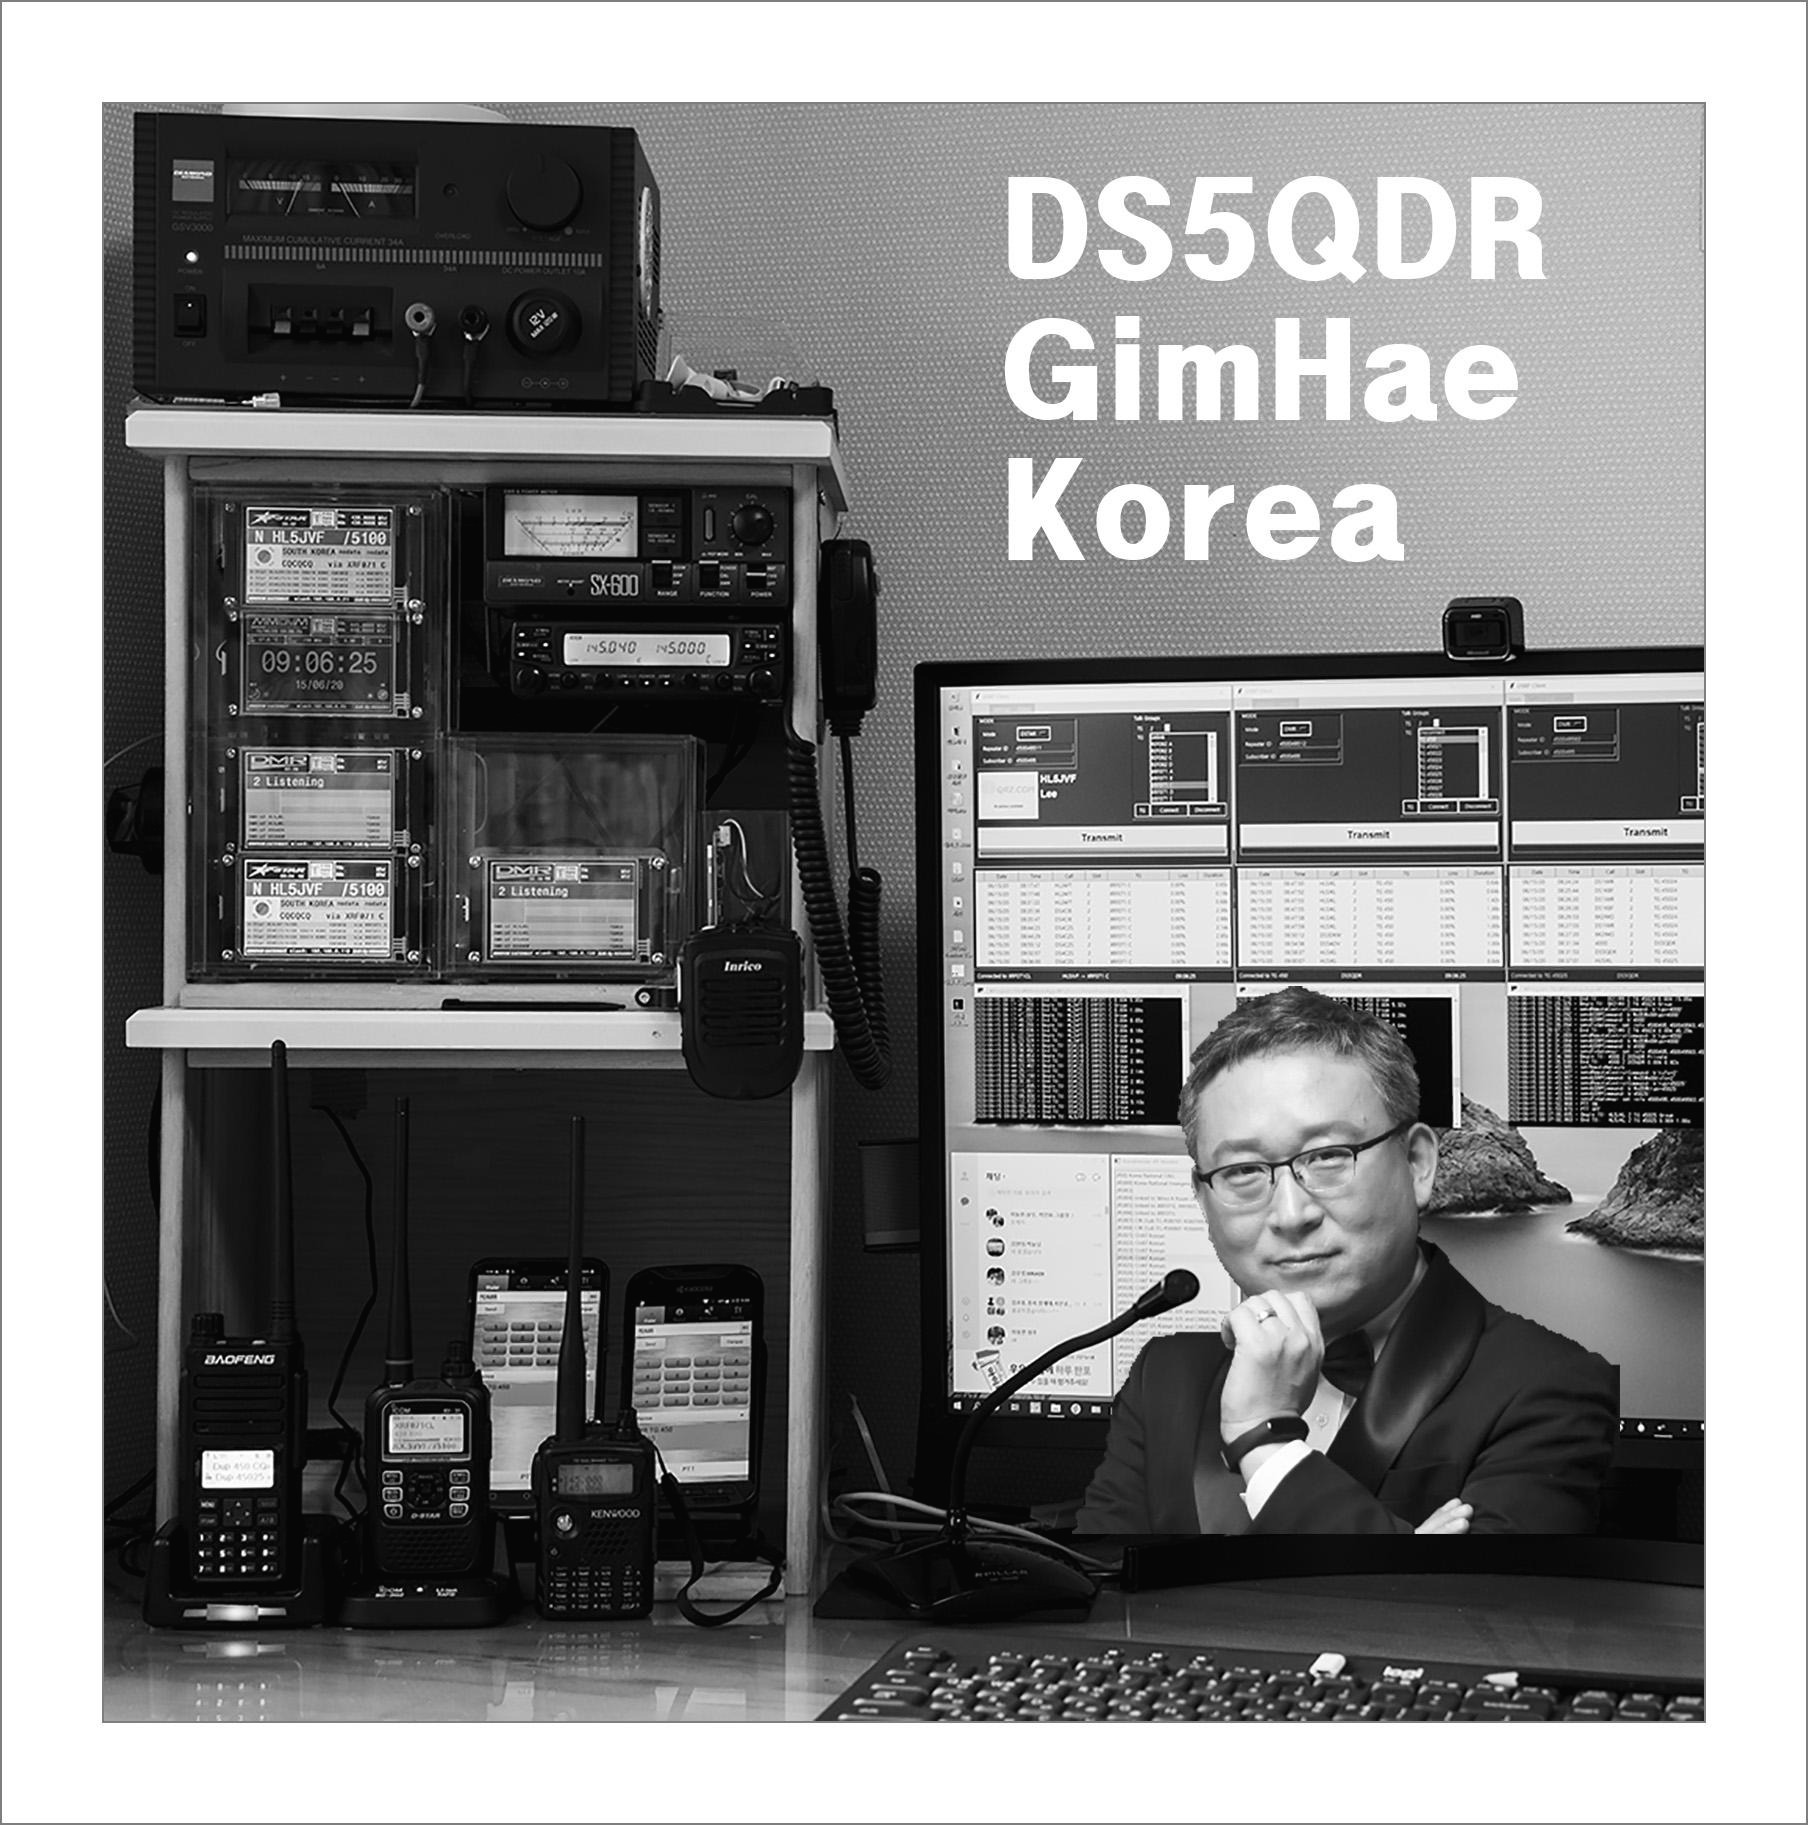
DS5QDR Heonmin Lee in Korea
DV 통신 경험 공유 Mode : DMR, DSTAR, YSF, XLX, YSF, M17, AllStarLink, EchoLink Software : DVSwich, USRP Client, Last Heard, MiniPi, MiniMT, VuMeter, DVPi, Pi-Star
