Release the integrated version of USRP and DVSwitch Server
USRP와 DVSwitch Server 통합버젼을 공개합니다
- USRP Client : V3.60
- DVSwitch Server : V1.6.8
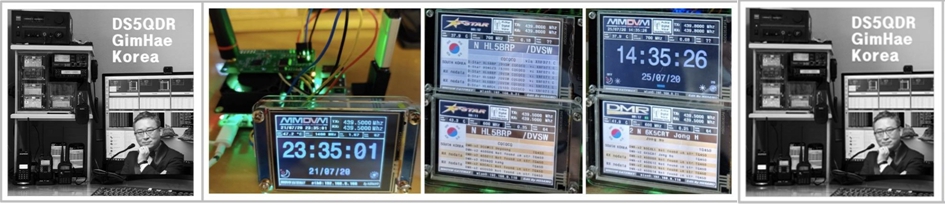
I made IMG file based on below (아래 부품을 이용하여 IMG 파일을 만들었습니다)
- RaspberryPi 3B
- USB Sound Card
- 16G SD Card
- 3.5 inch LCD (5 inch HDMI, 7 inch HDMI LCD all test ok)

How to set up
Step 1] Download the USRP+DVSW.egg file from Google Driver
Google 드라이버에서 USRP+DVSW.egg 파일 다운로드
- Download from the link below
- 아래 링크에서 다운로드 하세요
https://drive.google.com/file/d/1Ljagw6oiC1VdYqVdDufhQaSKLXYuXLV9/view?usp=sharing

Step 2] Unzip --> Create SD Card
압축해제 --> SD Card 만들기
- USRP+DVSW.egg Unzip
USRP+DVSW.egg 압축을 풀면
> USRP+DVSW.img and USRP+DVSW.txt files created
USRP+DVSW.img와 USRP+DVSW.txt 파일이 생성됨
> Create a 16G SD Card with Win32DiskImage
Win32DiskImage 를 이용하여 16G SD Card 만들기

Step 3] Set up the DVSwitch after initial boot
최초 부팅 후 DVSwitch 설정
- Connect with putty ( id : pi pw : usrp VNC : 595959 )
putty 로 접속
- Set DVSwitch after dvs input
dvs 입력 후 DVSwitch 설정

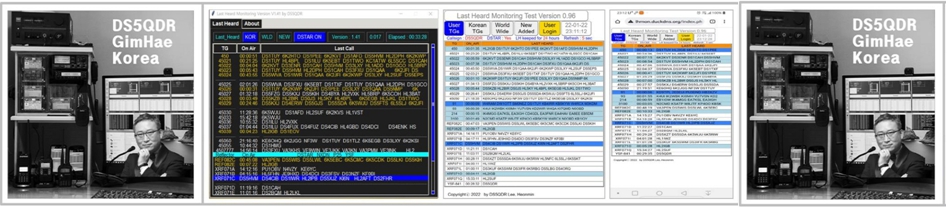
- DVSwitch Install Guide
DVSwitch 설치 가이드
ENG :
한글 :


- When setting all is finished, enter mt and enter, the screen below will pop
모두 설정이 끝나면 mt 입력하고 엔터 치면 아래와 같은 화면이 뜸

- If you see below message, it's working fine
위 메세지가 보이면 정상 작동한다는 것임DMR, Logged into the master successfully: 4501.master.brandmeister.network

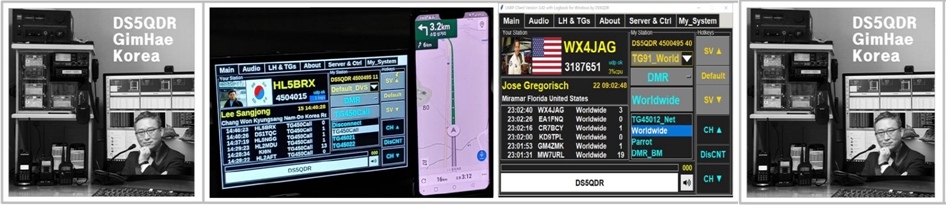
Step 4] USRP One-Click Settings
USRP 원클릭 설정
- Click Server & Ctrl Tap
Server & Ctrl Tap을 클릭
- Click the Stand Alone button
Stand Alone 버튼을 클릭
- USRP automatically activated
자동으로 USRP 작동 됨

- Click Yes (Yes 클릭)

USRP works OK !

Step 5] Trouble Shooting 이상상황 조치 방법
5-1] DISPLAY UPSIDE DOWN 화면 거꾸로 나올때
sudo nano /boot/config.txt
한 후 화면 제일 아래
display_rotate=0 혹은
display_rotate=2 로 변경하면 180도 변경 됩니다

5-2] touch pen not work 터치 안되는 경우
see the LCD Monitor manufacturer's manual
터치안되는 것은 LCD 모니터별 연결방법, 작동 방법이 모두 다릅니다
예로
- 3.5인치 GPIO LCD는 RPi에 GPIO 정상 연결하면 정상 작동 합니다
- 3.5인치 GPIO + HDMI LCD : 메이커에 문의 바랍니다
- 5.0인치 HDMI LCD --> https://ds5qdr-dv.tistory.com/158
- 7.0인치 HDMI LCD ---> 화상 HDMI, 터치 USB Cable
등 확인 및 테스트 한 것에 대해 설명드립니다
LCD 모니터는 모델별 다양성에 표준 설정은 없으므로
LCD 구입 시 가장 많이 사용하는 제품을
구입하시길 권해드립니다
Please refer to the link below for other detailed instructions and settings
기타 자세한 사용방법과 설정은 아래 링크 참고하세요
https://ds5qdr-dv.tistory.com/224
2022-01-01 USRP : Client for Windows and RPi V3.40 with Logbook
Two Choice : - USRP Client for Windows - USRP Client for Raspberrypi Requirements - Speaker - Microphone - DVSwitch server Simple Logbook is added from version 3.40 For Windows (윈도우 버젼) 1. down..
ds5qdr-dv.tistory.com
DS5QDR 73!
'USRP Client' 카테고리의 다른 글
| 2022-06-22 USRP : Client 를 RPi Zero W에서 (HS9AWO) (0) | 2022.06.22 |
|---|---|
| 2022-05-29 USRP : Client를 이용한 VU Meter 개발 중 (2) | 2022.05.29 |
| 2022-04-20 USRP : Client Cross Link between Analog and Digital #2 DTMF (0) | 2022.04.20 |
| 2022-04-10 USRP : Client for Raspberry Pi Audio Issue (0) | 2022.04.10 |
| 2022-04-09 USRP : Client Cross Link between Analog and Digital (0) | 2022.04.09 |
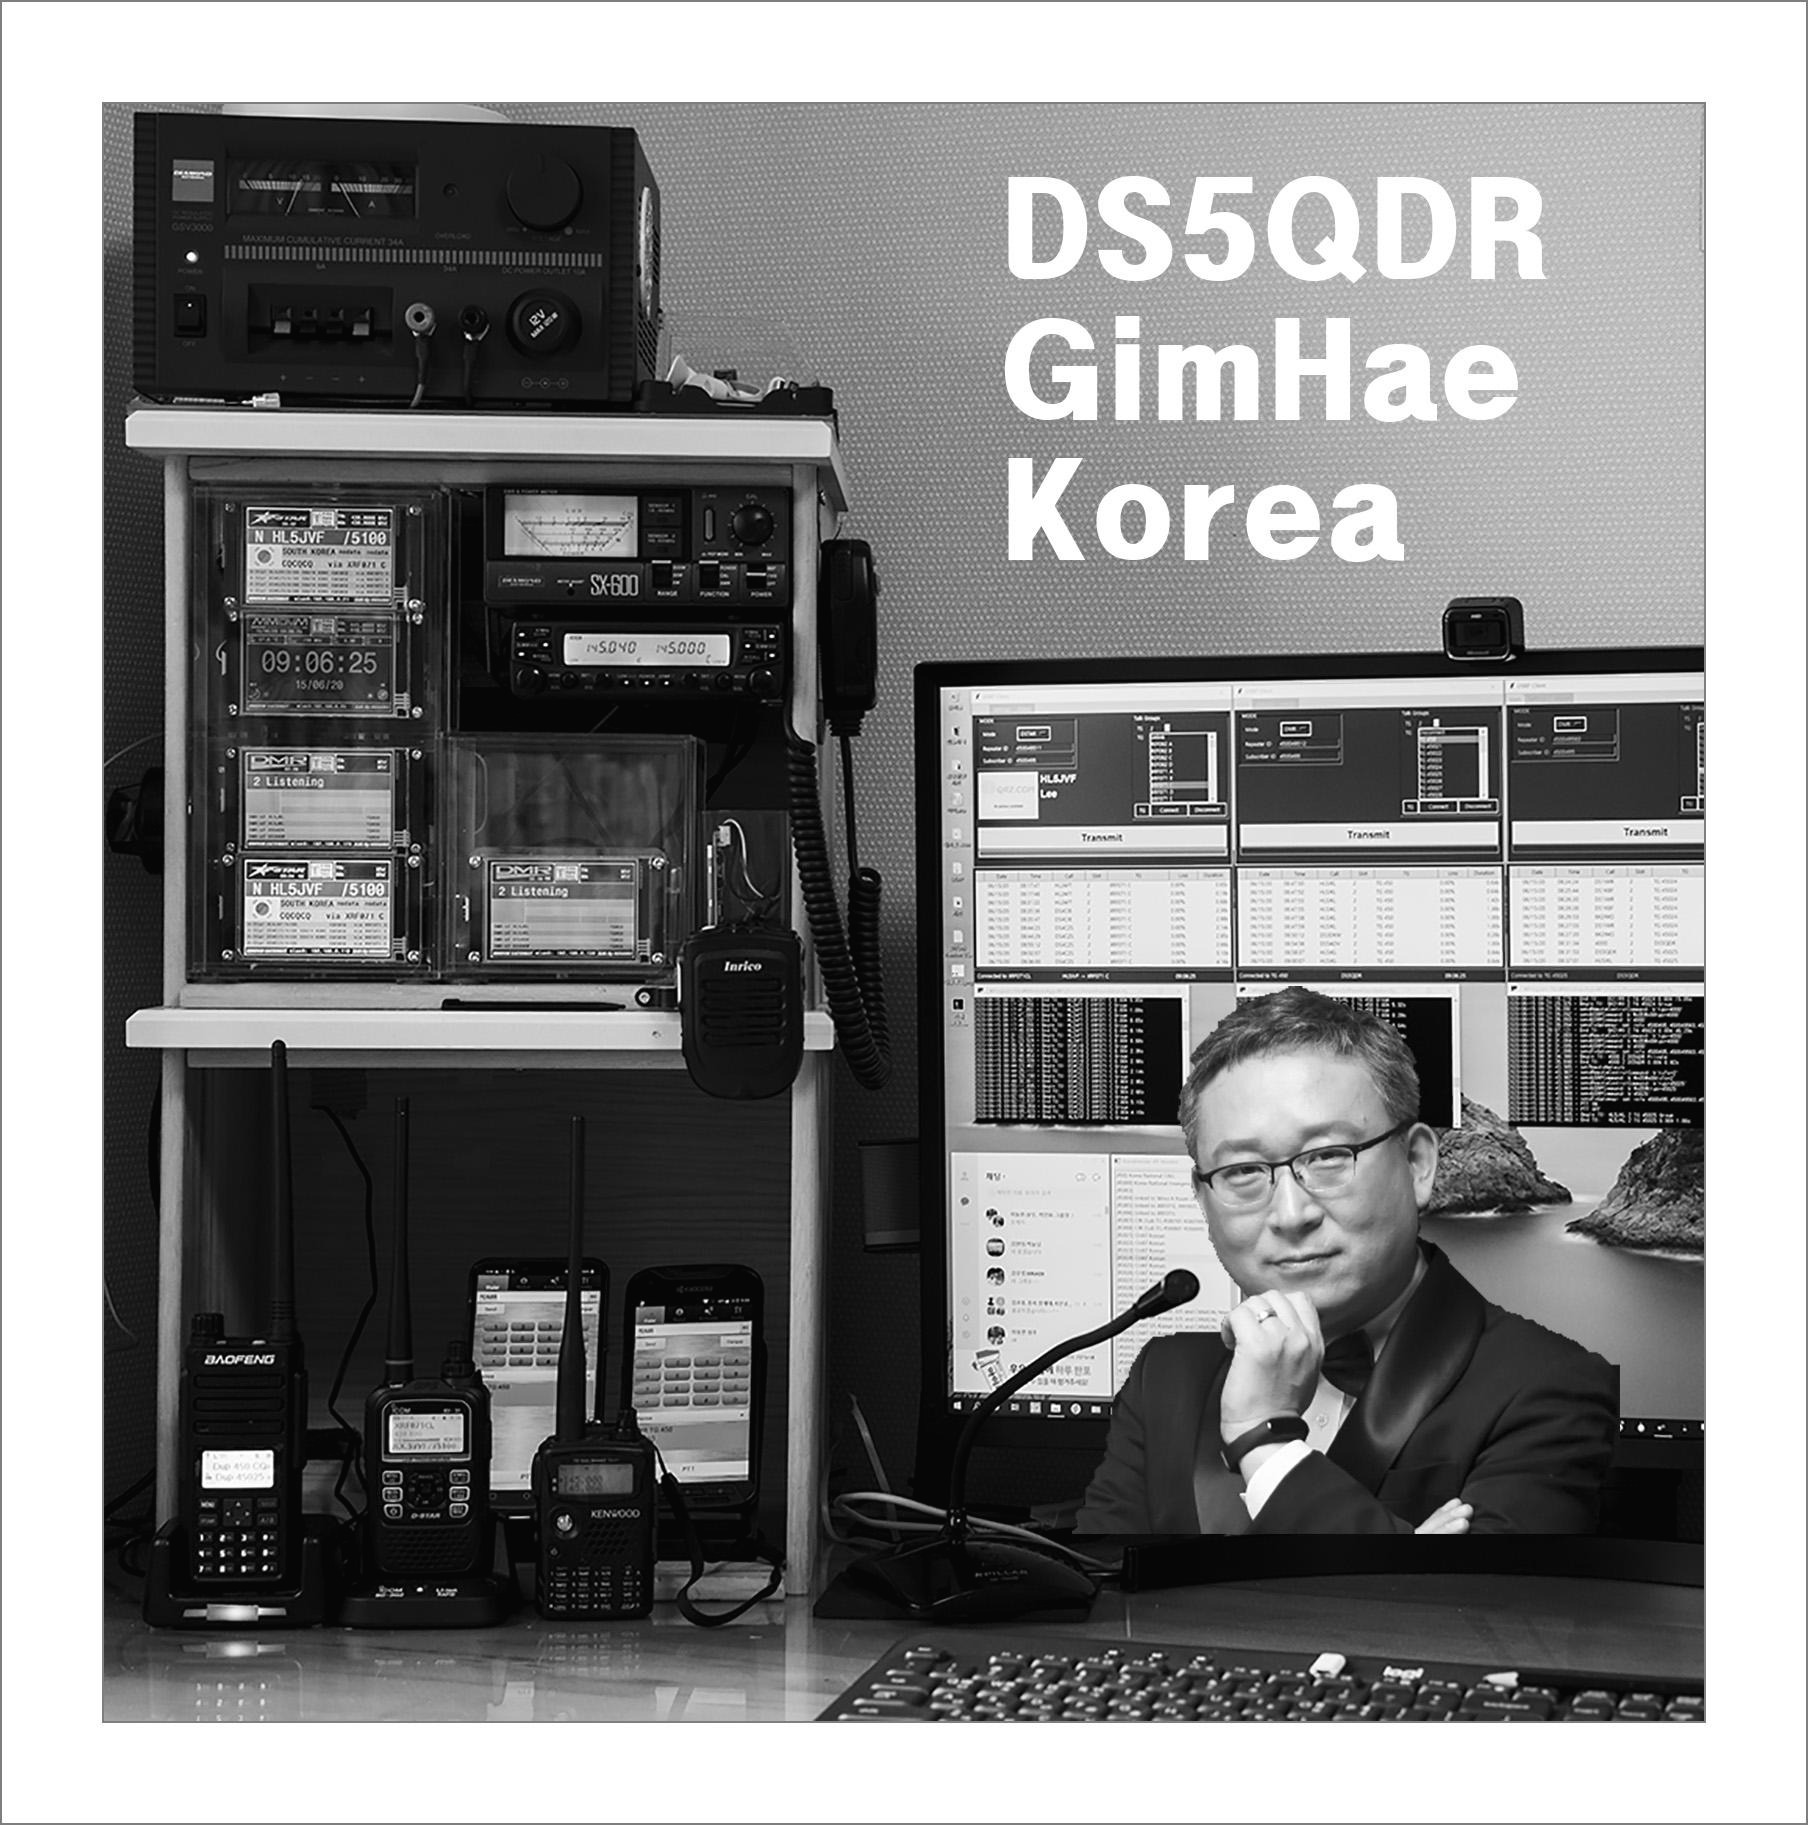
DS5QDR Heonmin Lee in Korea
DV 통신 경험 공유 Mode : DMR, DSTAR, YSF, XLX, YSF, M17, AllStarLink, EchoLink Software : DVSwich, USRP Client, Last Heard, MiniPi, MiniMT, VuMeter, DVPi, Pi-Star