본 자료는 아래 사이트에서 가져 왔습니다
[출처 : https://nw-digital-radio.groups.io/g/ambe/wiki/1519]
Create the Boot Image
- Obtain a high quality microSD card. A Class-10 card of 8GB or more is recommended.
- Download a Compass Linux image from archive.compasslinux.org
- The 'lite' version is without a GUI and will require hand editing of configuration files. The full version has a GUI desktop.
- Unzip and copy the uncompressed image to the SD card using the procedure outlined on the Raspberry Pi site.
AMBE 서버 이미지 파일은 반드시 archive.compasslinux.org 에서 받으세요
Index of /images/
File Name ↓ File Size ↓ Date ↓
| Parent directory/ | - | - |
| cedar/ | - | 2018-Dec-31 21:26 |
| wilderness/ | - | 2016-Dec-14 05:20 |
| image_2018-12-31-compass-full.zip | 2017058064 | 2018-Dec-31 21:21 |
| image_2018-12-31-compass-lite.zip | 407195987 | 2018-Dec-31 21:22 |
| image_2018-12-31-compass.zip | 1122781341 | 2018-Dec-31 21:26 |
받은 이미지 파일은 Win32DiskImager 같은 프로그램으로 Micro SD Card에 설치하세요!
Boot for the First Time
- Place the microSD card in the Raspberry Pi. 구운 Micro SD Card 삽입
- Attach a monitor and keyboard/mouse to the Raspberry Pi USB 포트에 키보드/마우스 연결
- Attach Ethernet via the RJ-45 jack to your network. 반드시 유선 LAN으로 연결
- Apply power via the microUSB port next to the HDMI port HDMI 포트에 모니터 연결
- Allow the Raspberry Pi to boot up 전원 연결 부팅
- Login (User: pi, Password: raspberry)
- Perform any Linux configuration specific to your installation, e.g. assign specific network addresses, install favorite tools, etc. (This is beyond the scope of NW Digital Radio support, please use Linux support resources for assistance.)
Note: DO NOT RUN raspi-update - it will break your install - You may wish to edit the /etc/hosts file and add a reference to the hostname, for example if you keep the default 'compass' hostname, add a line AMBE 서버 이름 바꿀 수 있는데 그냥 두세요
127.0.1.1 compass
If you want to change the computer hostname use the command:
sudo raspi-configThen select "Advanced Options" -> "Hostname" and follow the instructions. It will update the hostname for your Raspberry Pi and will make the change in /etc/hosts - Insert the ThumbDV™ and observe that it appears at /dev/ttyUSB0 ThumbDV를 USB 포트에 삽입
ls /dev/ttyU* will list all USB serial ports, if you have a GPS, another ThumbDV™, or other serial device they may also be listed. Be sure to locate the one with the newly installed ThumbDV™. - To gracefully shutdown the Raspberry Pi, you may use the command:sudo halt
Install AMBEserver
Use the following commands on the command line.
For the AMBEserver:
sudo apt-get update sudo apt-get upgrade sudo apt-get install ambeserver sudo systemctl enable ambeserver@ttyUSB0.service
The ThumbDV™ baud rate setting for startup defaults to 230400. For new ThumbDV™ (Rev. A) devices, the baud rate will need to be modified to 460800. See AMBEserver Addendum for instructions.
Reboot your system. AMBEserver should be running and listening on UDP port 2460.
Notes
See the Addendum
NW Digital Radio is in the process of setting up various community groups at Groups.io Please create a personal account at Groups.io Join the main NW Digital group by sending an email from your registered email account to main+subscribe@nw-digital-radio.groups.io and then send an email to ambe+subscribe@nw-digital-radio.groups.io Please use the group for questions and to share your experiences, so that all ThumbDV™, PiDV™, AMBEserver users can benefit from the replies.
AMBE 서버 셋업은 아래 링크 클릭
'오래된 자료들 모음' 카테고리의 다른 글
| 2020-08-14 DVswitch : 간단하게 DVSwitch DMR 전용 Server 만드는 법 (2) | 2020.08.14 |
|---|---|
| 2020-06-17 DVSwitch 처음 설치하시는 분 (0) | 2020.06.17 |
| 2020-06-17 Portable AMBE Server (0) | 2020.06.17 |
| 2020-06-17 AMBE Server 셋업 #2 (0) | 2020.06.17 |
| 2020-06-05 DVSwitch Client 윈도우 PC용 Multi 화면 (0) | 2020.06.05 |
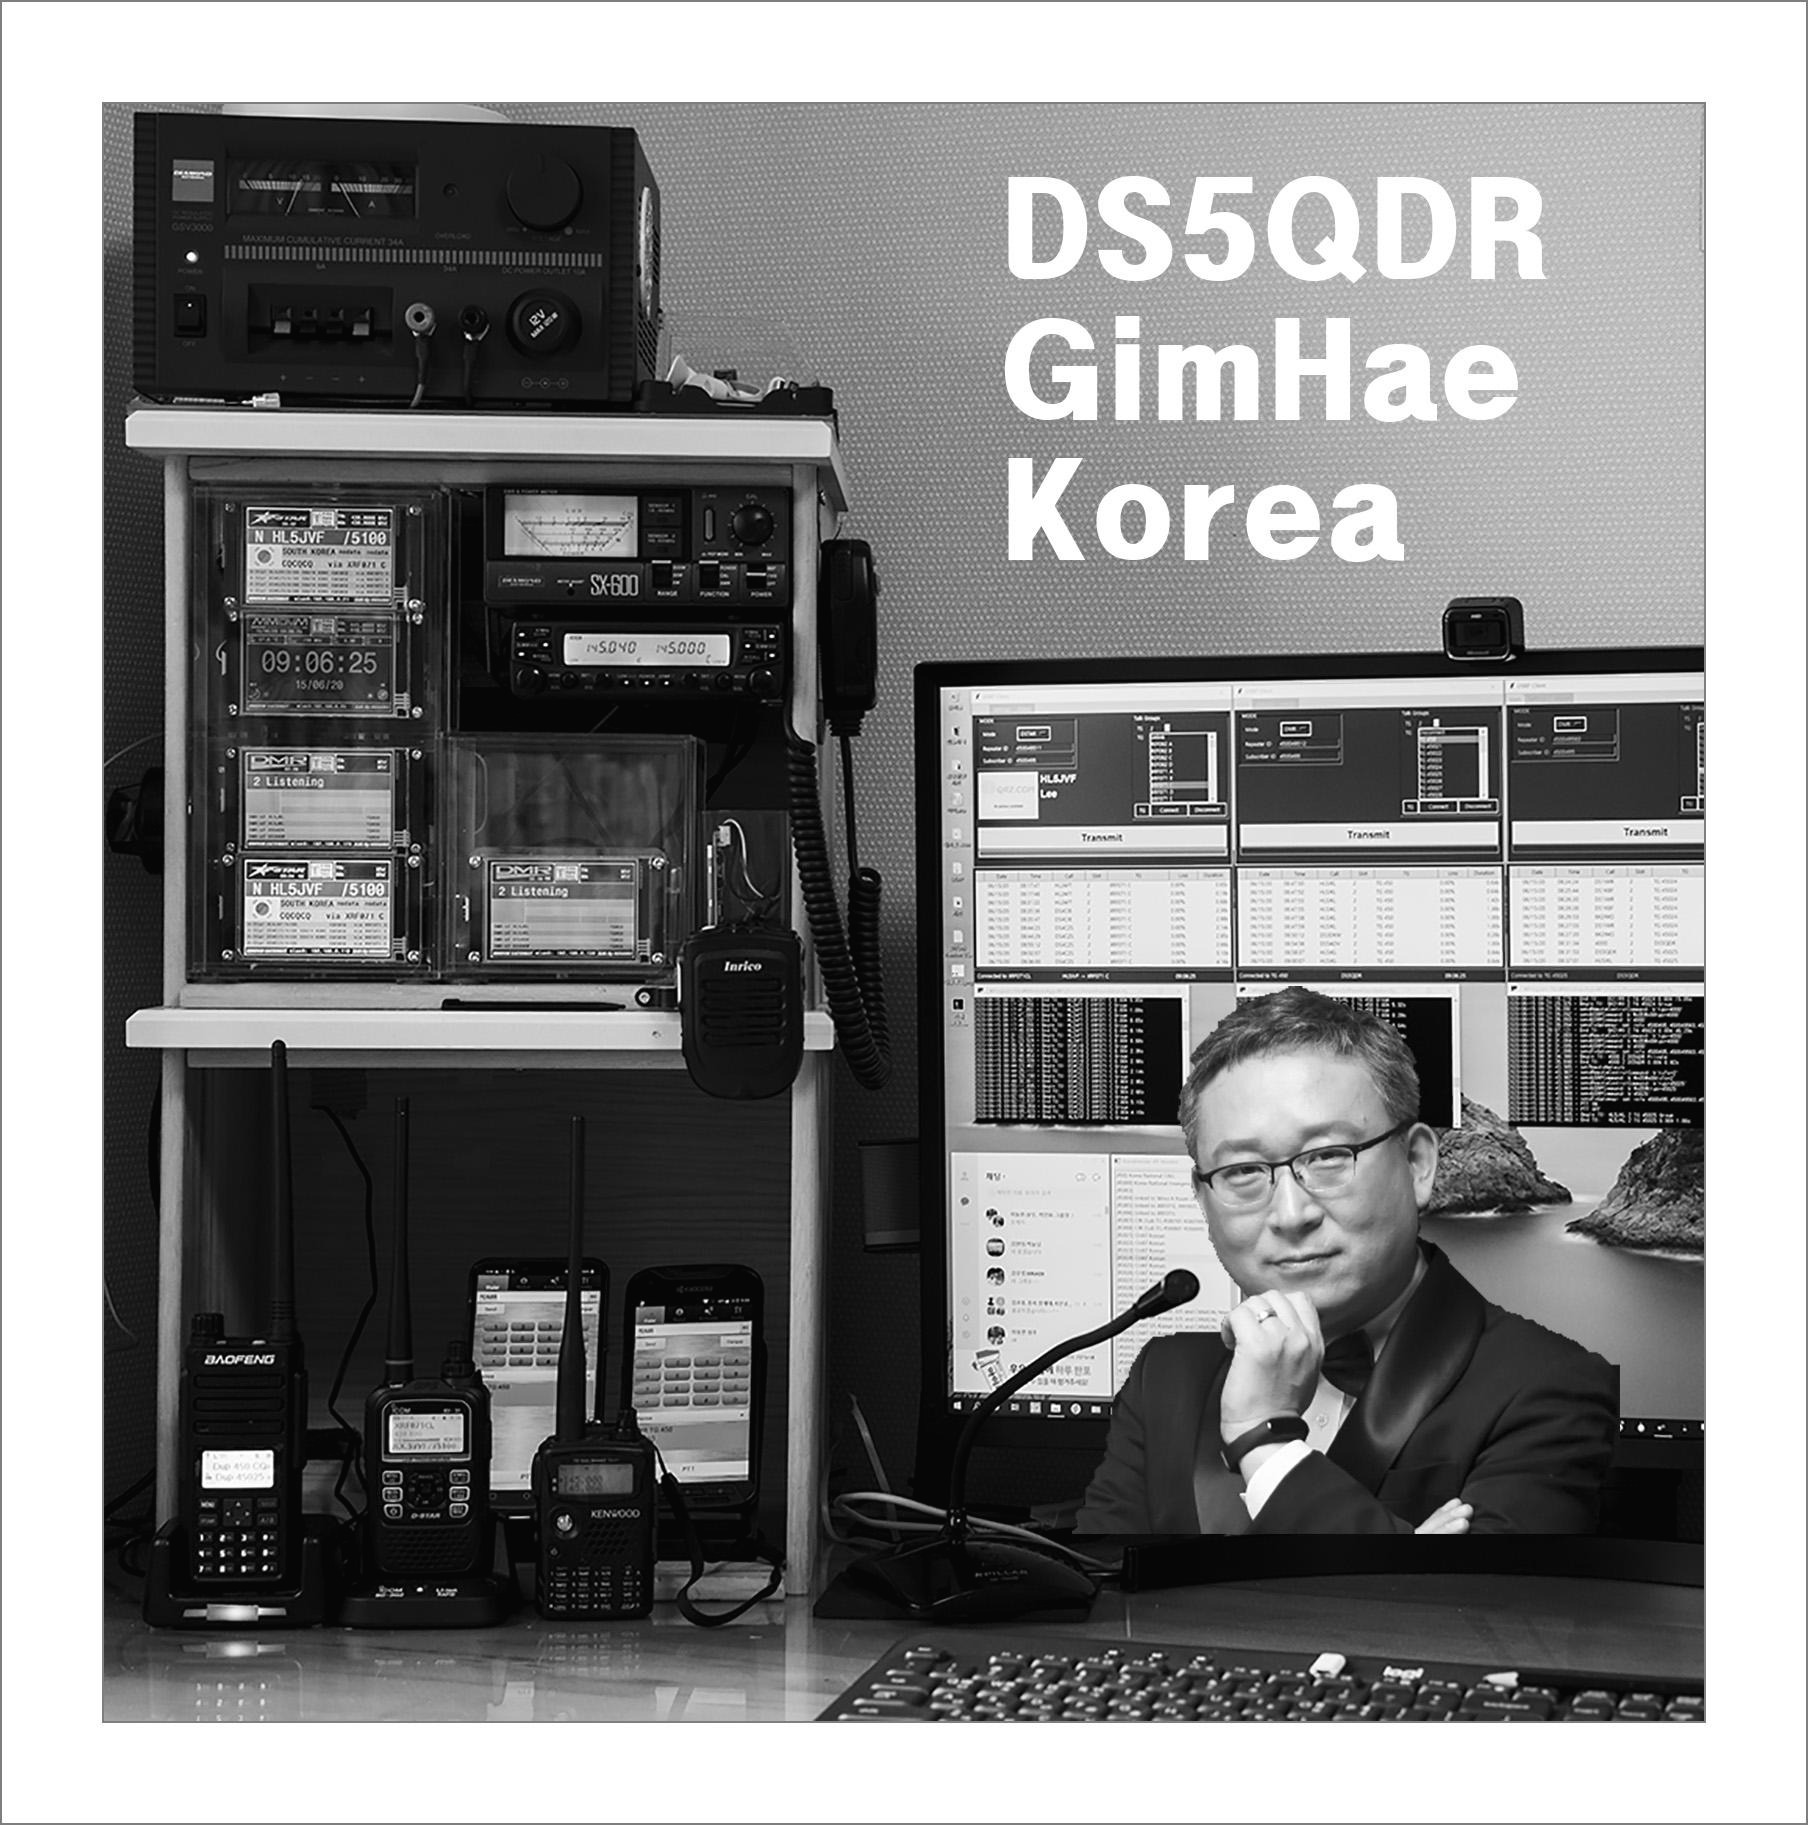
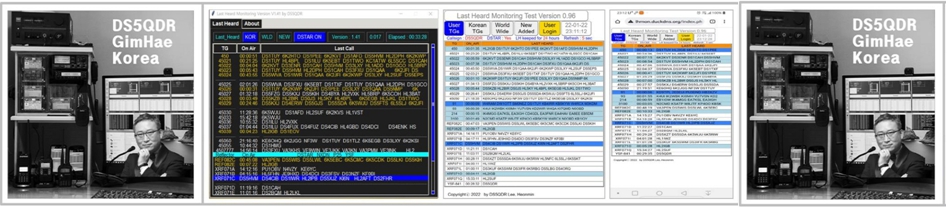
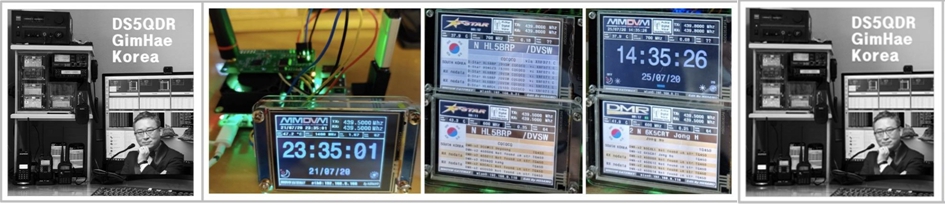
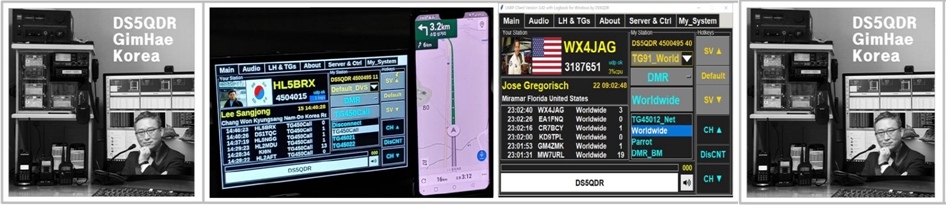
DS5QDR Heonmin Lee in Korea
DV 통신 경험 공유 Mode : DMR, DSTAR, YSF, XLX, YSF, M17, AllStarLink, EchoLink Software : DVSwich, USRP Client, Last Heard, MiniPi, MiniMT, VuMeter, DVPi, Pi-Star
