본 자료는 아래 사이트에서 가져 왔습니다
[출처 : https://nw-digital-radio.groups.io/g/ambe/wiki/1520]
- Configuration File Location
- Modifying the Configuration File
- Managing the AMBEserver
- Testing the AMBEserver
- Accessing AMBEserver
- Quick Build on Linux
Configuration File Location
The systemd configuration files for AMBEserver are located in /etc/opendv
cd /etc/opendv
ls -1
ambeserver-ttyAMA0.conf
ambeserver-ttyS0.conf
ambeserver-ttyUSB0.conf
If your device is at a different location, e.g. /dev/ttyUSB1 simply copy the similar file and give it a new name with the new device
sudo cp ambeserver-ttyUSB0.conf ambeserver-ttyUSB1.conf
Raspberry Pi 의 USB 포트에 ThumbDV 1개만 연결했다면 위 내용 생략
Modifying the Configuration File
Use an editor like vi or nano to edit your configuration file
sudo nano /etc/opendv/ambeserver-ttyUSB0.conf
There are two environment variables that may be modified namely UDP_PORT and AMBESERVER_FLAGS
Here are the contents of the configuration file:
# # Configuration file for the AMBEserver program started by systemd. # Adding flags to AMBESERVER_FLAGS will pass this to the daemon. # For example, to change the speed to 460800, use the following line: #
# 아래 두가지만 확인
AMBESERVER_FLAGS="-s 460800"
UDP_PORT=2460 ; 2465로도 설정해도 되나 DVSwitch 혹은 BlueDV에서 설정 시 같은 값을 설정하여야 함
AMBESERVER_FLAGS=""
For example, on the newer ThumbDV™ (Rev. A) you would modify the AMBESERVER_FLAGS variable
AMBESERVER_FLAGS="-s 460800"
To have AMBEserver listen on another UDP port, which is useful if you have more than one AMBEserver running on a single Raspberry Pi -- each with its own AMBE device.
UDP_PORT=18307
Managing the AMBEserver
The commands for checking, starting, stopping, enabling, and disabling the AMBEserver are as follows:
sudo systemctl status ambeserver@ttyUSB0.service sudo systemctl start ambeserver@ttyUSB0.service sudo systemctl stop ambeserver@ttyUSB0.service sudo systemctl enable ambeserver@ttyUSB0.service sudo systemctl disable ambeserver@ttyUSB0.service
Modify the tty service name as appropriate by replacing ttyUSB0 with:
- ttyAMA0 for a PiDV™ on on Raspberry Pi / Raspberry Pi 2
- ttyS0 for a PiDV™ on the Raspberry Pi 3
- ttyUSBx where x is a digit for the ThumbDV™ on all Linux based systems
Enabling the service will allow the AMBEserver to automatically restart when the Raspberry Pi is restarted.
Testing the AMBEserver
Login to https://nw-digital-radio.groups.io/g/ambe and download ambesocketest.py from the file section.
Execute the script
python ambesocketest.py
If the script returns (repeatedly):
Server reply : a
0AMBE3000R
You have an operating AMBEserver. Use control-C to escape/kill the test.
Accessing AMBEserver
DummyRepeater for Windows or Linux
Under Compass Linux DummyRepeater can be installed with
sudo apt-get install dummyrepeater
Under Preferences.

Use address 127.0.0.1 if DummyRepeater is running on the same computer, or the IP address of the computer where AMBEserver is running.
Buster for MacOS
Under Preferences

Use address 127.0.0.1 if Buster is running on the same computer, or the IP address of the computer where AMBEserver is running.
Over the Internet
See blog post at NW Digital Radio
Quick Build on Linux
These files are also in the files section.
If you cannot find an AMBEserver package for your architecture and distribution. Try this:
wget https://raw.githubusercontent.com/dl5di/OpenDV/master/DummyRepeater/DV3000/AMBEserver.c
gcc -o AMBEserver AMBEserver.c
Place the executable in an appropriate place, and create configuration and autostart files. On Raspbian/Debian this would be
sudo cp AMBEserver /usr/sbin
If using the files from ambesupport.tgz (below) /usr/sbin is expected.
A set of files for systemd management are located in the files section: ambesupport.tgz
Download this file to the target computer's filesystem and run
# these files expect that an opendv user exists
sudo useradd -s /bin/false opendv && sudo usermod -G dialout opendv
mv ambesupport.tgz /tmp && cd / && sudo tar -xzvf /tmp/ambesupport.tgz
Use the above instructions to manage the server.
AMBEserver on a Raspberry Pi-3 PiDV™
AMBEserver ThumbDV™ on a Raspberry Pi
NW Digital Radio is in the process of setting up various community groups at Groups.io Please create a personal account at Groups.io Join the main NW Digital group by sending an email from your registered email account to main+subscribe@nw-digital-radio.groups.io and then send an email to ambe+subscribe@nw-digital-radio.groups.io Please use the group for questions and to share your experiences, so that all ThumbDV™, PiDV™, AMBEserver users can benefit from the replies.
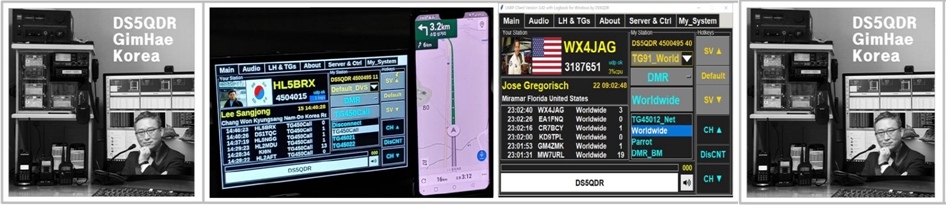
이제 BlueDV Mobile 혹은 BlueDV for Windows 프로그램을 통해 연결하면 됨
세팅 내용
- AMBE Server IP Address 예) 192.168.0.150
- UDP_Port 예) 2460
BlueDV for Windows 설정 화면

DVSwitch HL5KY OM님 버젼 4.0 기준 설정화면


DVSwitch Server에서 AMBE Server를 연결하여 사용 시 반드시 Server 두대 모두 유선 LAN 선으로 연결하세요
그렇지 않으면 끊어짐 / 지연 문제로 사용할 수 없습니다
DS5QDR 73!
'오래된 자료들 모음' 카테고리의 다른 글
| 2020-08-14 DVswitch : 간단하게 DVSwitch DMR 전용 Server 만드는 법 (2) | 2020.08.14 |
|---|---|
| 2020-06-17 DVSwitch 처음 설치하시는 분 (0) | 2020.06.17 |
| 2020-06-17 Portable AMBE Server (0) | 2020.06.17 |
| 2020-06-17 AMBE Server 셋업 #1 (0) | 2020.06.17 |
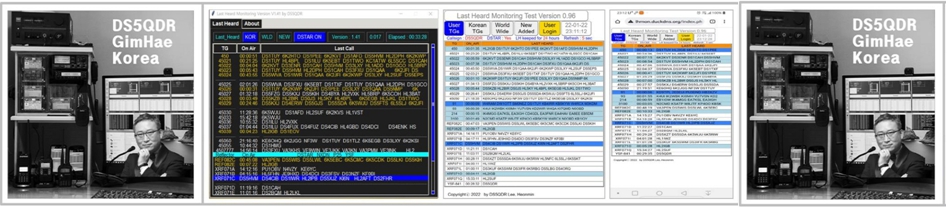
| 2020-06-05 DVSwitch Client 윈도우 PC용 Multi 화면 (0) | 2020.06.05 |
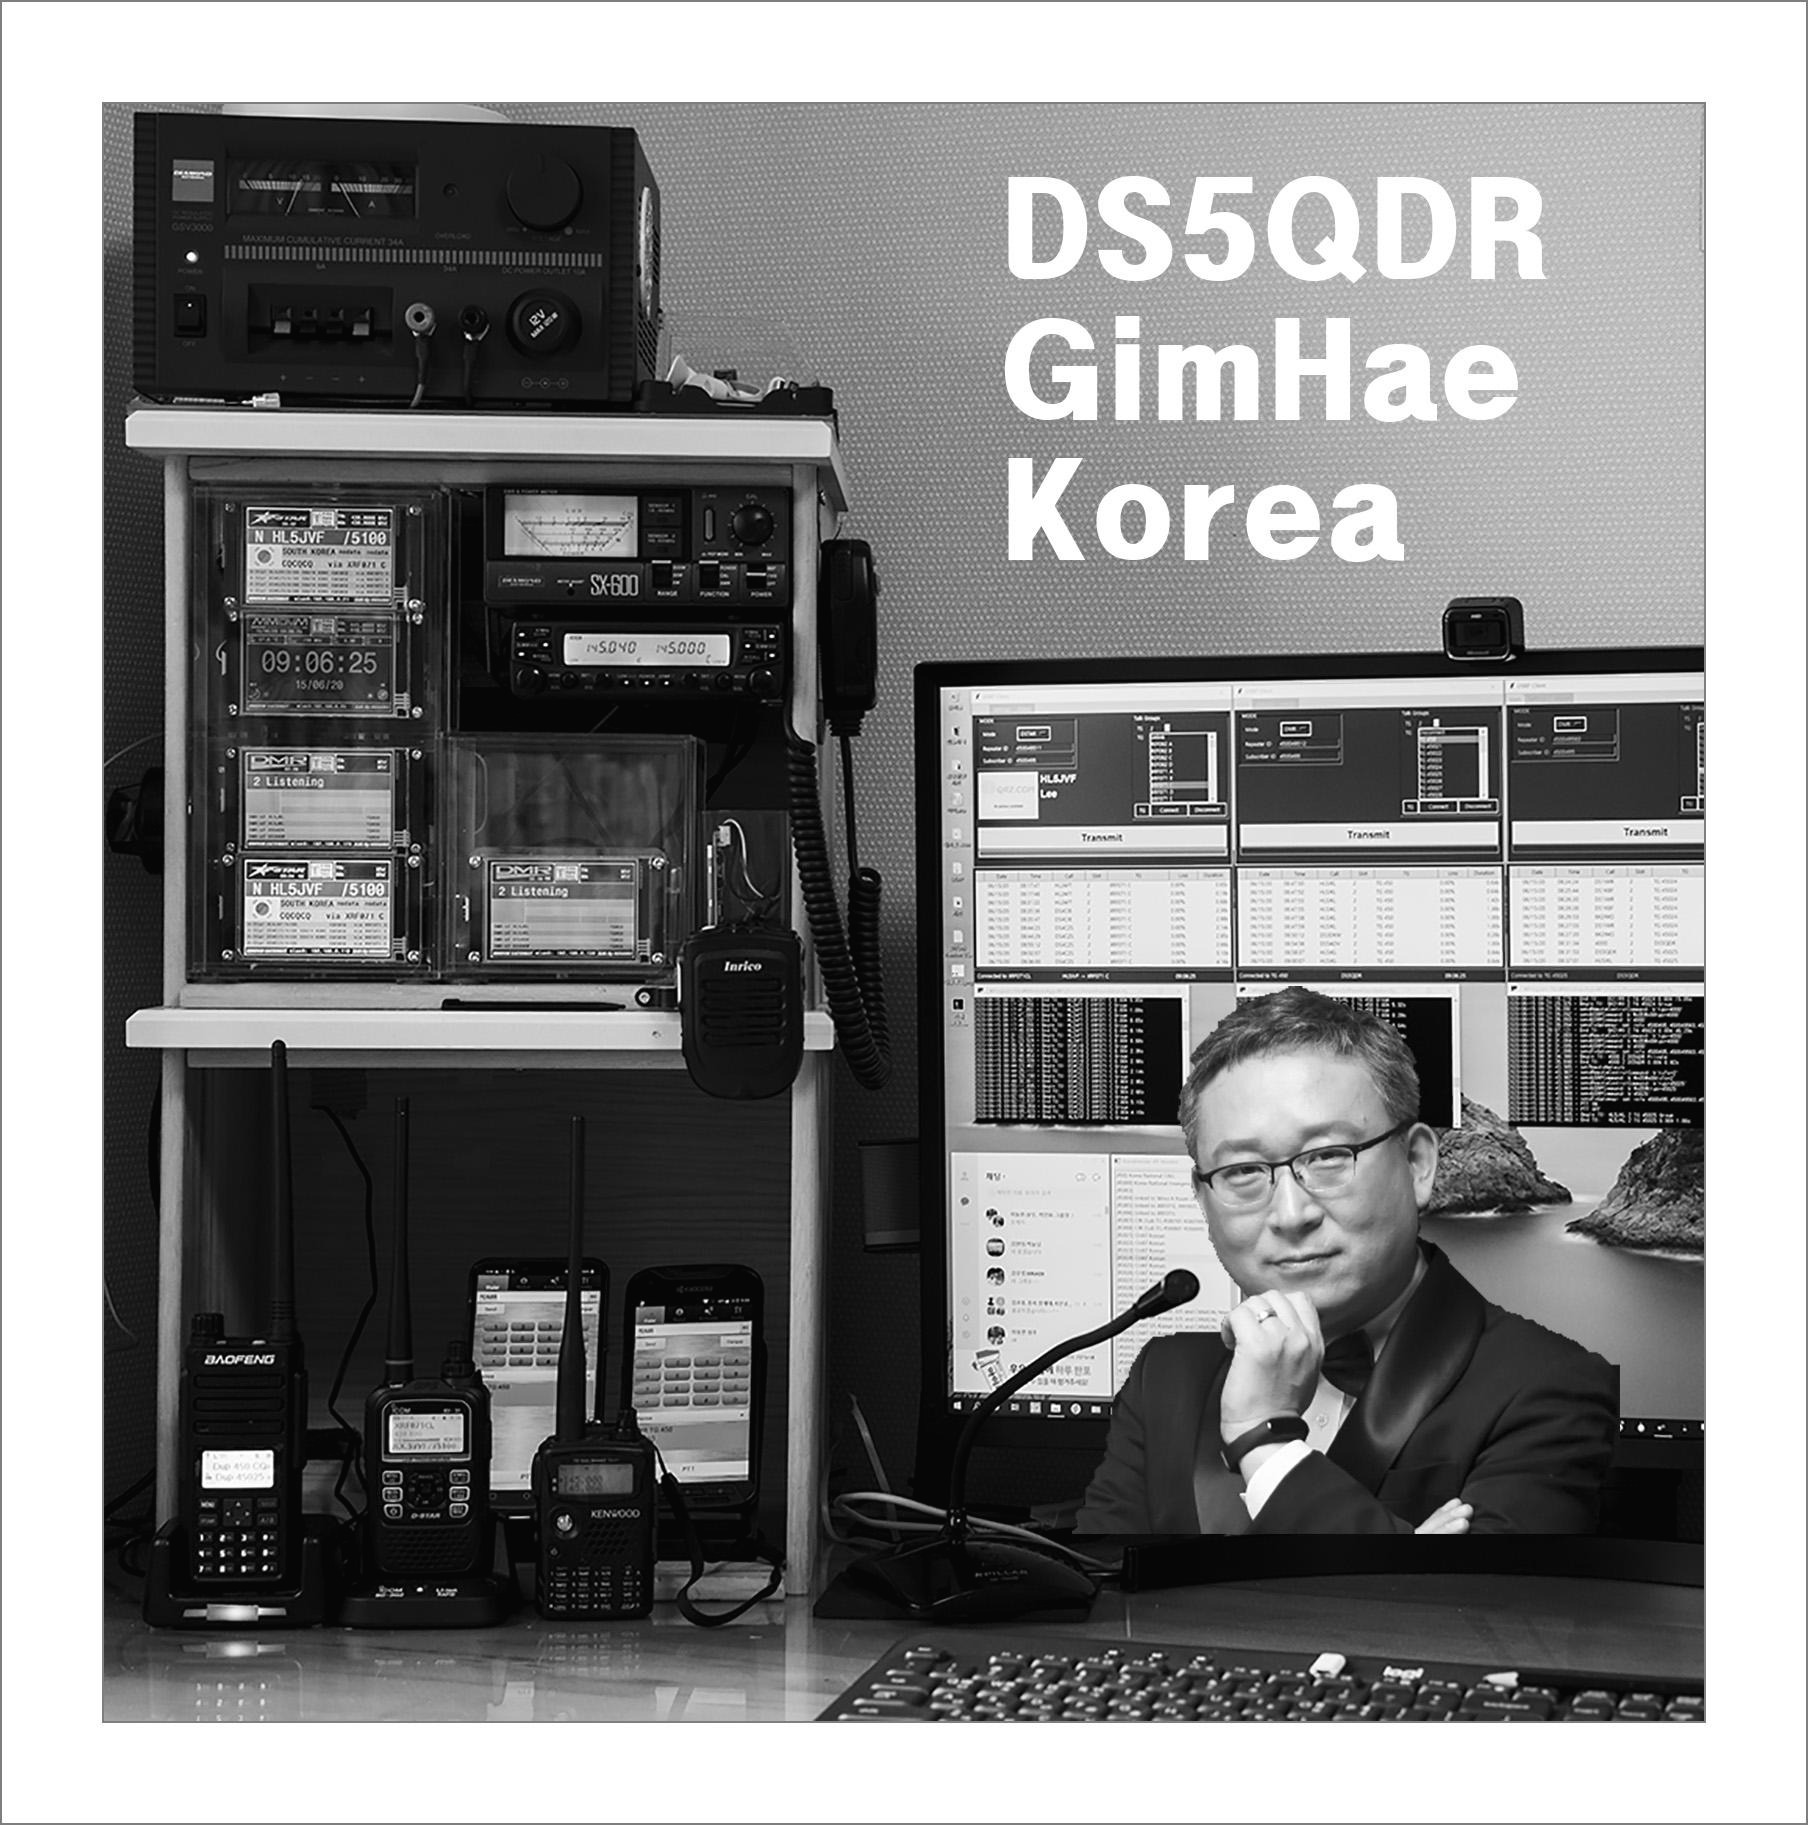
DS5QDR Heonmin Lee in Korea
DV 통신 경험 공유 Mode : DMR, DSTAR, YSF, XLX, YSF, M17, AllStarLink, EchoLink Software : DVSwich, USRP Client, Last Heard, MiniPi, MiniMT, VuMeter, DVPi, Pi-Star